Manual Retouching
Use the Clone feature in complex cases.
Quick steps
- Select one of the mirroring modes.
- Put the source pointer in a location to take a pattern from.
- Start brushing with the copied pixels in a target location.
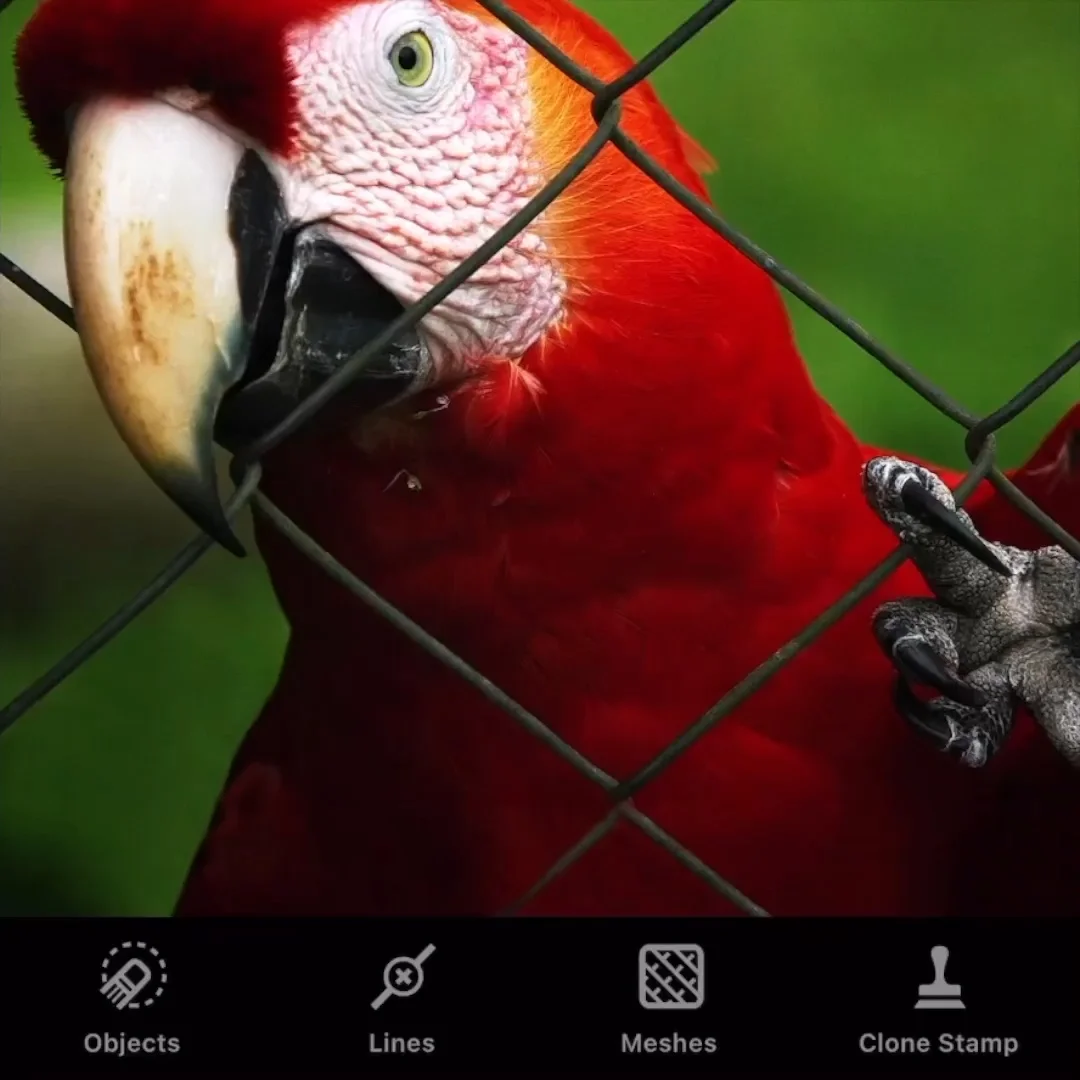
With Clone Stamp, you can manually retouch photos. It doesn’t matter whether you want to remove a defect from your image or repair a background damaged after eliminating an unwanted item from it, the Clone Stamp tool is always a good solution. It is also useful for duplicating objects in a photo.
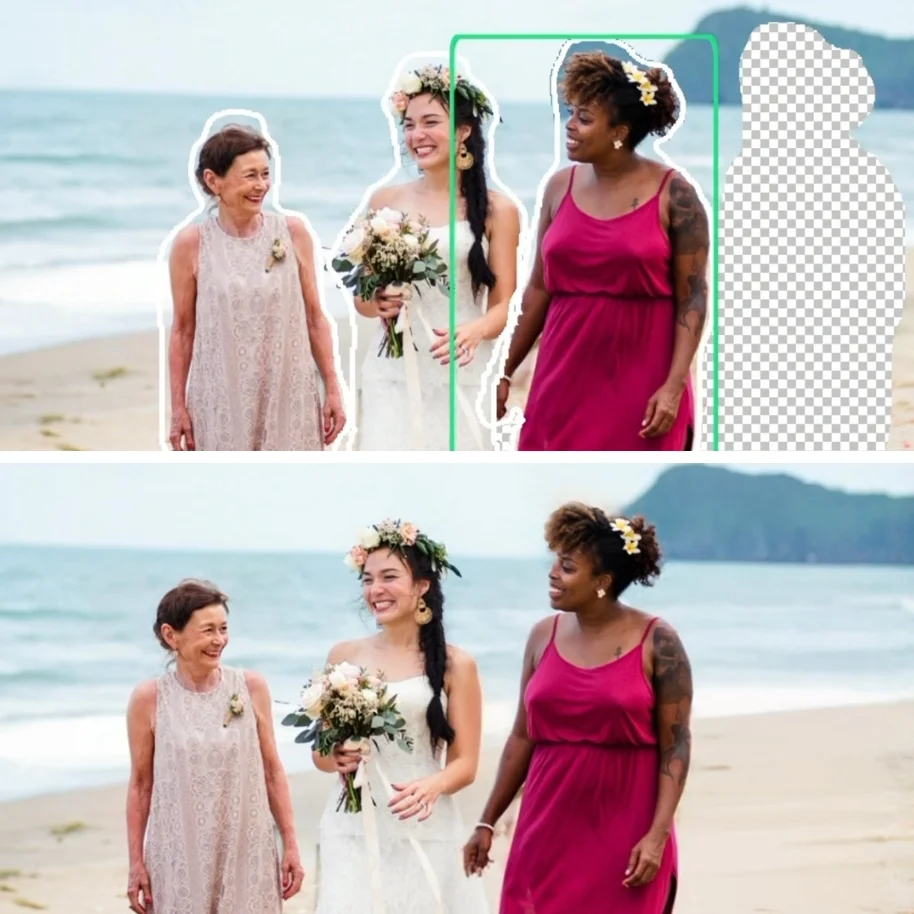
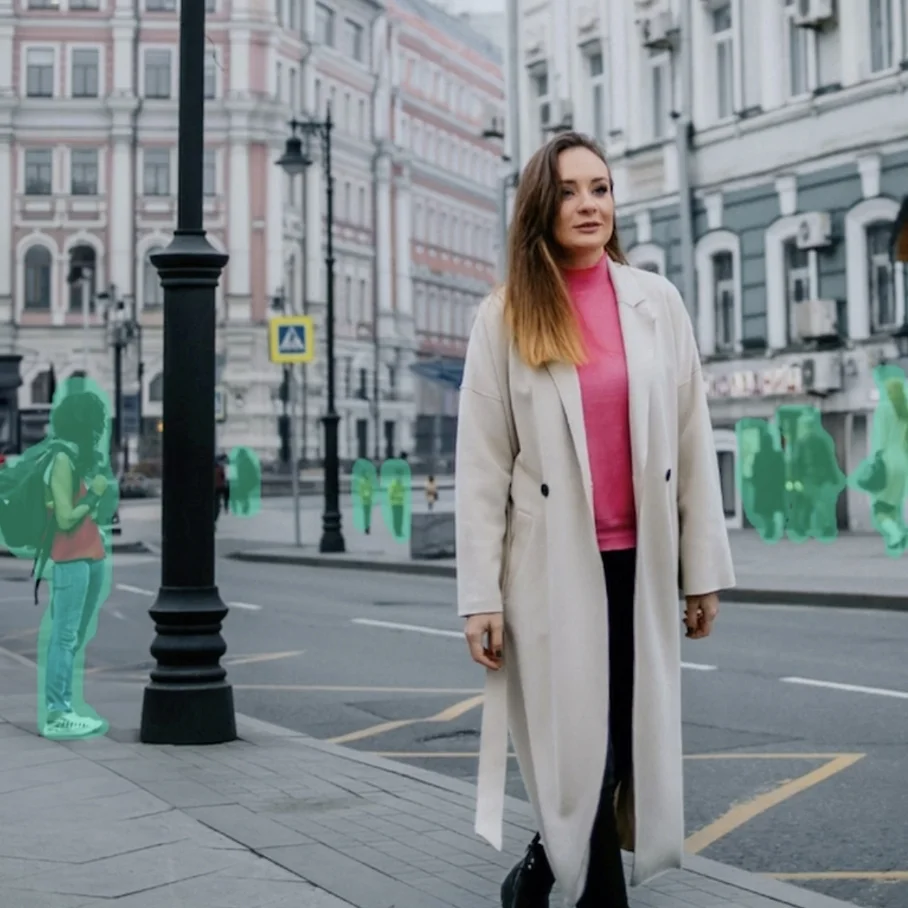
We recommend using this tool in complex retouching cases, namely when you want to remove an item from a complicated background, when an unwanted element is close to another object, or when you’d like to edit big objects out.
The tool works in a way that it allows painting one part of an image over another part of the same image.
MIRRORING
This technique is pretty much usable when you need to obtain a horizontal, vertical, or diagonal mirror image of a source area in your photo.
By cloning in the direction horizontally, vertically, or diagonally opposite to a source area, you get a perfect symmetrical copy of what is being cloned in a target area, thus removing defects from that area or creating a mirror-like effect.
Consider the illustration describing how the mirroring method can be used to remove unwanted content:
Imagine you would like to take a photo of some popular bridge in your area, for example. It’s not possible to get a clear photo of it, as people are constantly moving across the bridge.
Should you give up on your goal to take a “perfect” photo of the bridge? In no case should you do that. Just take the photo as is, and then use the Clone Stamp tool to flip the clear side of the bridge to remove all the people from it.
Step 1
Tap Clone Stamp in the main menu and select one of the mirroring modes.
Adjust the Brush size, hardness, opacity, and edge awareness as desired.
Step 2
Drag the source pointer to a source location or just tap that place.
Step 3
Start brushing with your finger where you want the cloned content to appear. As you are brushing, you are drawing with the copied pixels.
If needed, use Eraser to remove the object or area that has just been cloned.
SOURCE POINTER MODES
The Clone Stamp tool offers a few source behavior modes. They are accessible by long-tapping the source icon.
Depending on the purpose of cloning, you may choose from the following source behavior types:
Classic: the source pointer, which is located in a source area, follows your finger movements in a target area while keeping the distance between the finger and the pointer the same. When you release your finger and put it to another location, the source pointer will move to another location too. So, if you want to start cloning from a specific location, you should relocate the source pointer each time the finger is released.
Slide-back: the source pointer comes back to its initial position every time you release your finger from the screen, and you can create multiple copies of the source pattern in a target area.
Texture: the source pointer is locked in a source area, and you can draw with the texture copied from that location in a target area. The source area is restricted by the frame the size of which is adjustable.
TIPS & TRICKS
Restore Brush: Use this tool to brush back the changes just applied. The brush is not immediately accessible. It pops up in place of Eraser the moment a certain edit is made to a photo.
Reapply Brush: If you have restored too much of the original area, apply the edits once again. The brush becomes available as soon as you tap the Restore tool.
Revert to Original: Long-tap the Undo button to restore the original version of a photo. Single-tap this button to move one step back in the Undo chain.