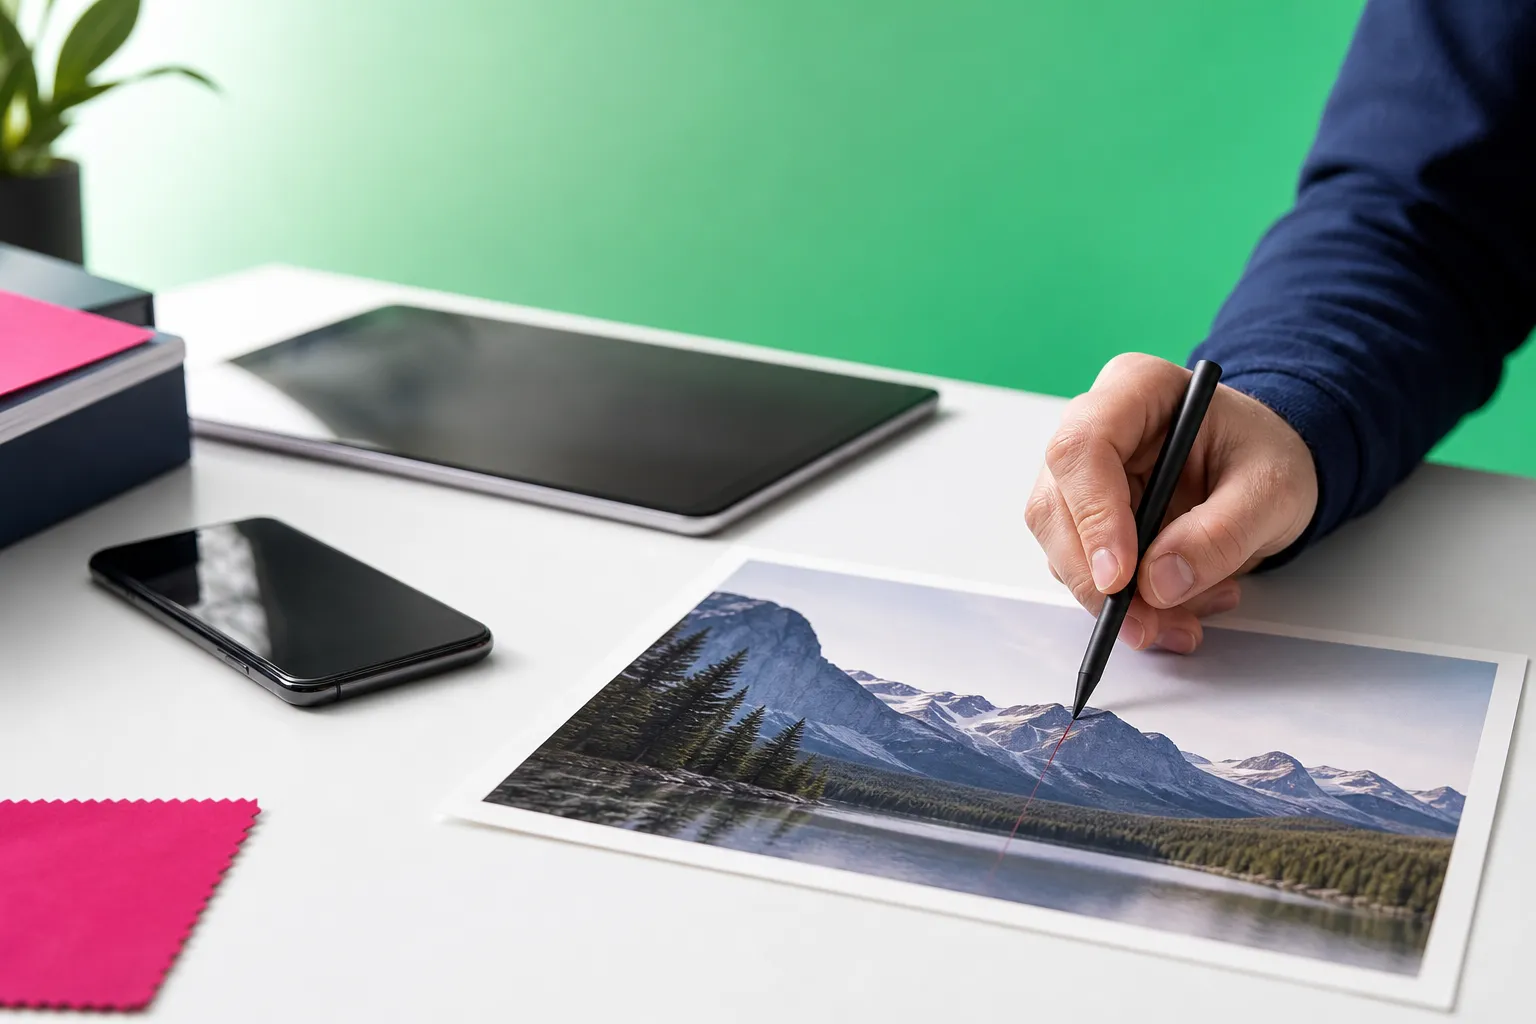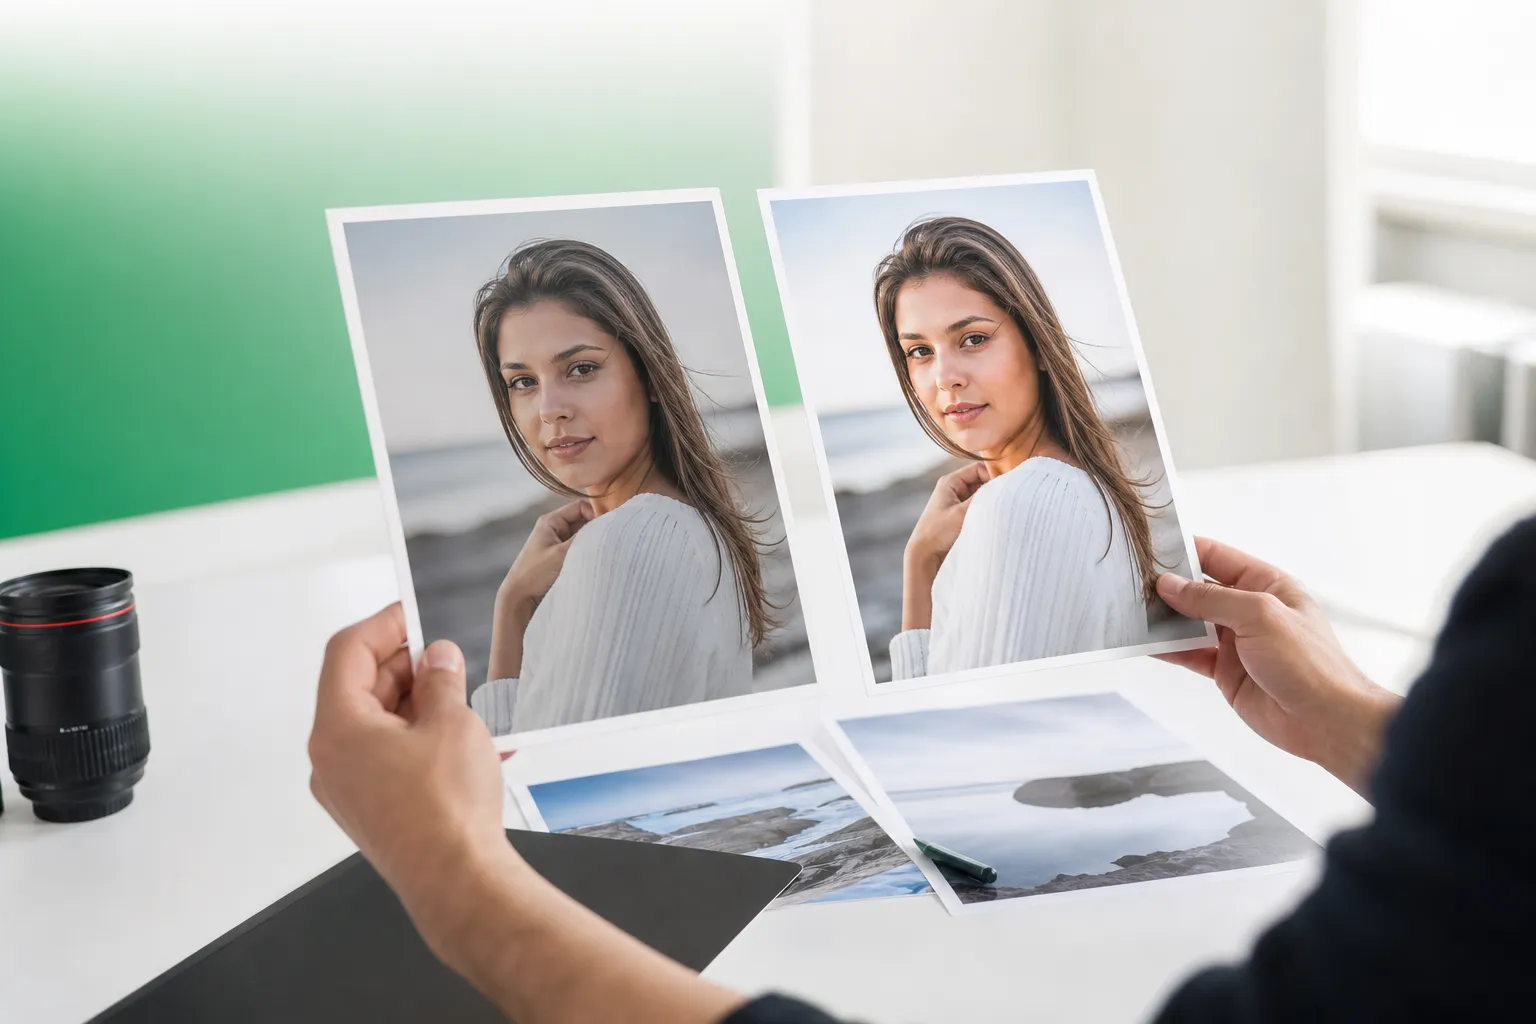
If an otherwise great shot has a photobomber, wire, sign, blemish, or random clutter, how to erase something from a photo in iPhone usually comes down to choosing the right tool for the job. Small distractions near the edge of the frame can often be hidden with simple edits, while central subjects, fences, and power lines usually need a dedicated object remover.
This guide is built for iPhone users only. If you also want cross-platform instructions, see this broader guide to remove objects from photos on iPhone and Android, but the steps below stay focused on iPhone workflows so you can get to the fix faster.
Before you start: choose the right iPhone cleanup method
What this tutorial covers on iPhone only
This article answers a practical question: how to remove something from a picture on iphone when you want a clean result without moving your photo to a desktop editor. It focuses on still photos on iPhone, not Android, not desktop software, and not video editing.
That matters because iPhone users often search for quick, tap-based solutions inside familiar mobile workflows. Instead of repeating Android steps, this page narrows in on what you can realistically do on iPhone with built-in edits and with TouchRetouch.
How this page should differ from the broader iPhone and Android guide
The broader mobile guide is useful if you compare platforms or switch between devices. This page is intentionally tighter: it covers iPhone-specific decision-making, common iPhone photo problems, and the fastest route to remove people, objects, wires, fences, text, blemishes, and background distractions on Apple devices.
It also clarifies what TouchRetouch is. TouchRetouch is a mobile photo-editing app for iPhone and Android developed by ADVA Soft GmbH in Berlin, Germany. It is for photos only, not videos, and it is not a standalone desktop app.
When built-in tools are enough and when they are not
If the distraction is small, near the edge, or easy to crop away, the iPhone’s native editing tools may be enough. A trash can in the corner, a little extra sidewalk, or a sign peeking in from the side can often be handled with a composition change.
When the unwanted element crosses your subject, sits in the middle of the frame, or covers a textured background, built-in tools usually stop being enough. That is where a specialist editor helps, especially for tasks like remove object with a swipe style cleanup on travel, family, or street photos.
Results always depend on scene complexity. Uniform areas like sky, sand, walls, and water are easier to repair than foliage, patterned clothing, brickwork, or crowded city scenes.
Built-in iPhone options for removing distractions
What you can try in the Photos app
If you want to remove object from photo iphone without app support, start with the Photos app’s basic editing tools. The most useful options are cropping, straightening, and adjusting composition so the distraction is no longer visible or less noticeable.
For example, if a trash can appears in the lower-right corner of a park photo, cropping in slightly may solve the problem without changing the image too much. If a sign sticks out from the top edge, a tighter vertical crop can make the frame look cleaner right away.
Simple workarounds that help hide small distractions
Basic edits can also reduce attention on a minor distraction even when they do not fully erase it. A small blemish in a wide selfie may become less obvious after cropping tighter, adjusting light, or changing the composition so the viewer’s eye goes to the face instead of the background.
These workarounds are most useful when the object is not central. A bottle on the edge of a picnic blanket or a stray elbow at the side of a group photo can often be minimized enough that the image feels intentional.
Limitations of native editing on crowded or detailed scenes
Native iPhone editing has clear limits. If a power line runs across the sky, a photobomber stands behind your subject, or text sits over a storefront you want to feature, standard crop and adjustment tools cannot rebuild the missing background for you.
That is the key difference between basic editing and true object removal. To cleanly erase something from a detailed photo, you usually need selection tools and intelligent fill behavior that standard photo adjustments do not provide.
So if cropping would cut off your subject or leave the composition awkward, it makes sense to move to a dedicated photo retouching workflow instead of forcing the built-in editor to do a job it was not designed for.
How to erase something from a photo in iPhone with TouchRetouch
Step 1: Open your photo and pick the right removal tool
TouchRetouch is an AI-powered mobile photo editor made by ADVA Soft GmbH and available on iOS and Android. TouchRetouch is free to download; premium AI features require a paid subscription. Check the App Store or Google Play for current pricing, which varies by region.
To begin, open the app on your iPhone and import the photo you want to clean up. For general object cleanup, choose Remove Objects, which is the core tool for removing random items, text, blemishes, and small distractions from still photos.
If your goal is how to erase something from a photo in iphone with the least guesswork, choosing the right tool first makes a big difference. Remove Objects is best for everyday cleanup, while lines, fences, and people often have their own dedicated tools covered later in this guide.
Download TouchRetouch for free on iOS and start removing unwanted objects today.Step 2: Mark the unwanted area with Brush or Lasso
Inside Remove Objects, mark the distraction using Brush or Lasso. Brush works well for irregular shapes like litter, skin blemishes, stickers, or small street objects. Lasso is useful when the item has a clearer outline, such as a sign, cup, or patch of text.
Use smaller, more precise selections instead of painting over a large area at once. If you are cleaning up a coffee cup on a table, trace just the cup and a tiny margin around it rather than selecting half the tabletop.
Adjustable brush settings help you control precision, especially around edges. That matters when the unwanted item sits close to hair, hands, product outlines, or architecture details.
Step 3: Remove the object and inspect the result
After marking the area, apply the removal and inspect the fill closely. The app is designed to blend the selected area with nearby texture so the cleaned-up section looks natural within the rest of the image.
This is where how to erase something from a photo in iphone becomes less about the tap itself and more about checking the blend. A clear blue sky usually cleans up easily, while grass, bricks, patterned fabric, or layered crowds may need a second pass.
For example, removing a stop sign from a street scene may work well in one pass if the wall behind it is plain. Removing a person from a busy market background may need a tighter second selection around any leftover edges.
Step 4: Use Restore if you removed too much
If part of the subject disappears with the object, switch to Restore. This tool brings back areas that were removed by mistake, which is especially helpful around shoulders, hair, fingers, or product edges.
Say you brush over a blemish on a cheek but catch part of the lip line or nostril edge. Restore lets you recover that detail, then redo the cleanup more carefully so the final retouch still looks natural.
Step 5: Export your cleaned-up image
Once the photo looks right, export the final version. TouchRetouch preserves original photo quality and EXIF data on export, which is useful if you want to keep image details intact for sharing, organizing, or later editing.
If you are learning how to erase something from a photo in iphone for travel shots, family pictures, product photos, or social posts, this workflow is the core one to remember: import, select, remove, inspect, restore if needed, and save.
TouchRetouch stays focused on photo editing only. It does not edit video, and it is designed as a mobile cleanup tool rather than a full desktop replacement.
Best TouchRetouch tools for common iPhone photo problems
Remove people and photobombers with Erase AI and Person Removal
When you want to remove unwanted objects from a travel or street photo, people are often the biggest issue. TouchRetouch offers two strong options here: Erase AI and Person Removal.
Erase AI is useful when background distractions include strangers, signs, trash cans, stop lights, or shadows. It is designed to detect background people automatically while identifying the main subject so that person stays unchanged.
Picture a beach photo where your subject is centered but several strangers are scattered behind them. Erase AI can help clean up the background so the frame feels calmer and more intentional.
Person Removal is more specific to group photos. It can detect all people in the image so you can remove selected individuals while the app fills the empty space and adjusts the composition naturally.
That makes it useful for family or event shots where one person blinked, stepped in awkwardly, or should not be in the final image. If you need to remove one extra person from the edge of a group, this tool is often a better fit than a generic brush selection.
Clean up cables and power lines with Line Removal
Wires are a classic mobile editing problem. A skyline, sunset, or building photo can look much cleaner once overhead lines are gone, and this is where Line Removal is the fastest option.
Instead of brushing the entire wire manually, you tap or mark part of the line and the app finds the full line automatically. For curved or awkward segments, manual retouch mode gives you control points so you can guide the cleanup more precisely.
A common example is a city skyline with utility wires cutting across the sky. Another is a scenic mountain photo where a cable interrupts the horizon. In both cases, Line Removal is more efficient than treating the wire like a random object.
Get rid of fences with Mesh Removal
Fences are difficult because they repeat across the frame and often sit in the foreground. Mesh Removal is built for this exact problem.
The process is simple: select the tool, tap Go, and let the algorithm detect and remove the foreground mesh or fence. This is especially useful for zoo photos, sports barriers, or travel shots taken through protective fencing.
If you have a photo of an animal behind wire mesh, brushing every gap by hand would be slow and uneven. Mesh Removal is designed to handle that pattern more intelligently and save you cleanup work.
Remove text, blemishes, and small objects with Remove Objects
Remove Objects remains the most flexible tool for everyday edits. Use it for text on walls or signs, skin blemishes, random clutter on the ground, small street objects, or little distractions in the background.
Brush is ideal for a pimple in a selfie, crumbs on a tabletop, or a sticker on a product shot. Lasso works well for removing a block of text from a storefront image or isolating a cup, bag, or small sign.
If you want how to remove something from a picture on iphone to feel straightforward, this is the tool most people will use most often. It handles the broad middle ground between tiny blemish fixes and more specialized line or fence cleanup.
Refine tricky areas with Clone Stamp
Sometimes automatic cleanup gets you most of the way there but leaves a repeating pattern or soft patch behind. That is when Clone Stamp helps.
Clone Stamp lets you copy texture from one area to another for manual repair. It is useful on brick walls, grass, pavement, wood grain, or detailed architecture where a perfect blend needs a little guidance.
For example, after removing text from a storefront window, you may want to copy a clean section of reflection or frame detail into a small leftover area. After removing a blemish, you may use Clone Stamp to smooth a tiny patch of skin texture while keeping the result subtle.
If you want more cleanup ideas beyond object removal, these photo cleaner tips for tidier images can help you spot distractions before you export the final photo.
How to remove something from a picture on iPhone without making it look edited
Choose photos with cleaner backgrounds when possible
The best object removal starts with the easiest background to rebuild. Uniform areas such as sky, water, sand, pavement, and plain walls usually blend more naturally than dense leaves, patterned wallpaper, or crowded shelves.
If you are taking the photo now rather than fixing it later, a small change in angle can help. Moving a step left so a sign sits against open sky instead of tree branches makes later cleanup much easier.
Zoom in before you erase small details
When learning how to remove something from a picture on iphone, zooming in is one of the simplest ways to improve results. It helps you see edges clearly where the subject meets the background, especially around hair, fingers, glasses, or product corners.
This matters for small blemishes and thin distractions. A tiny wire near a roofline or a speck on a portrait can look easy at full view but messy when posted online if the selection was too broad.
Use smaller selections for better blends
Remove distractions in short passes instead of selecting a large area all at once. A smaller selection gives the app a clearer job and usually creates a more believable blend.
For instance, if a bench and a cup both distract from a park scene, erase one item first, inspect the result, and then handle the second. The same approach works when removing text letter by letter from a textured surface.
Fix leftover patterns with Restore or Clone Stamp
Restore helps when the removal overlaps with the subject or wipes out texture that should stay. If part of a jacket edge disappears while removing a passerby, restore that edge first and then make a tighter second selection.
Clone Stamp helps when the fill looks repetitive or slightly uneven. Textured walls, grass, stone, and decorative architecture often benefit from a quick manual touch-up after the main object is gone.
Know when scene complexity affects the result
Some images simply need more refinement. If the background is busy, layered, or highly patterned, the cleanup may take a few passes even with a strong mobile editor.
That is normal. TouchRetouch is designed to make mobile photo cleanup easier, but it is still a photo editing app rather than a desktop replacement, and the final result depends on scene complexity and photo resolution.
If your image still feels flat after cleanup, these tips to enhance photo quality on your phone can help you finish the edit more cleanly.
Troubleshooting: when object removal on iPhone is not working well
The removed area looks blurry or uneven
If the fill looks soft or patchy, make a tighter selection and try again in smaller sections. This is especially effective on textured areas like grass, brick, or patterned clothing where broad selections give the app too much to rebuild at once.
Part of the main subject disappeared
If your subject was partly erased, use Restore to bring back the missing area. Then reselect the unwanted object more carefully, zooming in around edges like hairlines, hands, shoulders, or product outlines.
Wires or fences are only partly removed
If a wire remains after general cleanup, switch to Line Removal instead of using a broad object brush. If a fence or mesh still shows, use Mesh Removal rather than trying to paint every gap manually.
The background is too busy for one-tap cleanup
Highly detailed scenes often need a combination of tools. Start with the automatic option that best matches the problem, then refine the result with Clone Stamp if repeating patterns or texture mismatches remain.
Which tool to try next
If a group photo is difficult to clean, try Person Removal or Erase AI depending on whether you need to remove selected people or broader background distractions. For random clutter, text, or blemishes, go back to Remove Objects and work in smaller passes.
Some ai object removal features require an internet connection, and premium AI features require an active subscription. If a tool is unavailable, check your connection and your current plan in the App Store listing.
For another common portrait distraction, this guide on how to remove glasses glare from photo can help you clean up reflections after you finish object removal.
Final takeaway and download options
The simplest path for quick iPhone photo cleanup
The easiest workflow is simple: use built-in iPhone edits when a crop or composition change solves the problem, and use TouchRetouch when you need more precise removal. That is the better route for people, objects, wires, fences, text, blemishes, and background distractions that sit too close to the subject to crop away.
Primary CTA for iPhone users
If you came here to learn how to erase something from a photo in iphone, the most practical answer is to match the tool to the problem and keep your selections precise. Clean up your photos with TouchRetouch — download now.
Secondary CTA for readers who also edit on Android
This page is the iPhone-specific tutorial, while the broader mobile guide helps if you compare both platforms. For cross-device editing, Transform your photos with TouchRetouch’s AI-powered tools — available on iOS and Android.
Frequently Asked Questions
Can you remove an object from a photo on iPhone without an app?
Yes, but only in limited cases. Cropping, straightening, and composition changes in the Photos app can hide small distractions near the edge of the frame, but they do not replace true object removal when something sits in the middle of the photo.
What is the easiest way to remove a person from a picture on iPhone?
The easiest method is usually a dedicated removal tool such as Erase AI or Person Removal in TouchRetouch. These tools are designed for people cleanup and are more effective than trying to crop out a photobomber from the center of a travel or group photo.
How do you erase wires or power lines from an iPhone photo?
The cleanest approach is to use Line Removal. You mark part of the wire, and the app finds the full line automatically, which is more accurate than brushing over long cables by hand.
Why does object removal sometimes look blurry or unnatural?
That usually happens when the background is busy or the selection is too large. Smaller selections, zooming in around edges, and refining with Restore or Clone Stamp often improve the final blend.
Is TouchRetouch for photos only or can it edit videos too?
TouchRetouch is for photos only. It does not support video editing, so it is best used for still-image cleanup and retouching on iPhone or Android.
FAQ
Can you erase something from a photo on iPhone without an app?
Yes, you can remove some distractions on iPhone with built-in tools like Clean Up, but the available features depend on your iPhone model and iOS version.
What is the best way to remove something from a picture on iPhone?
The best method depends on the object, but small distractions are usually easiest to remove with a dedicated retouch tool that blends the surrounding area naturally.
Will removing an object from a photo reduce image quality?
Removing an object does not always reduce image quality, but heavy edits or poor blending can make the result look soft or unnatural.
How do you make object removal look natural on iPhone?
To make object removal look natural, zoom in, use small brush strokes, follow edges carefully, and check the edited area against the surrounding texture and lighting.