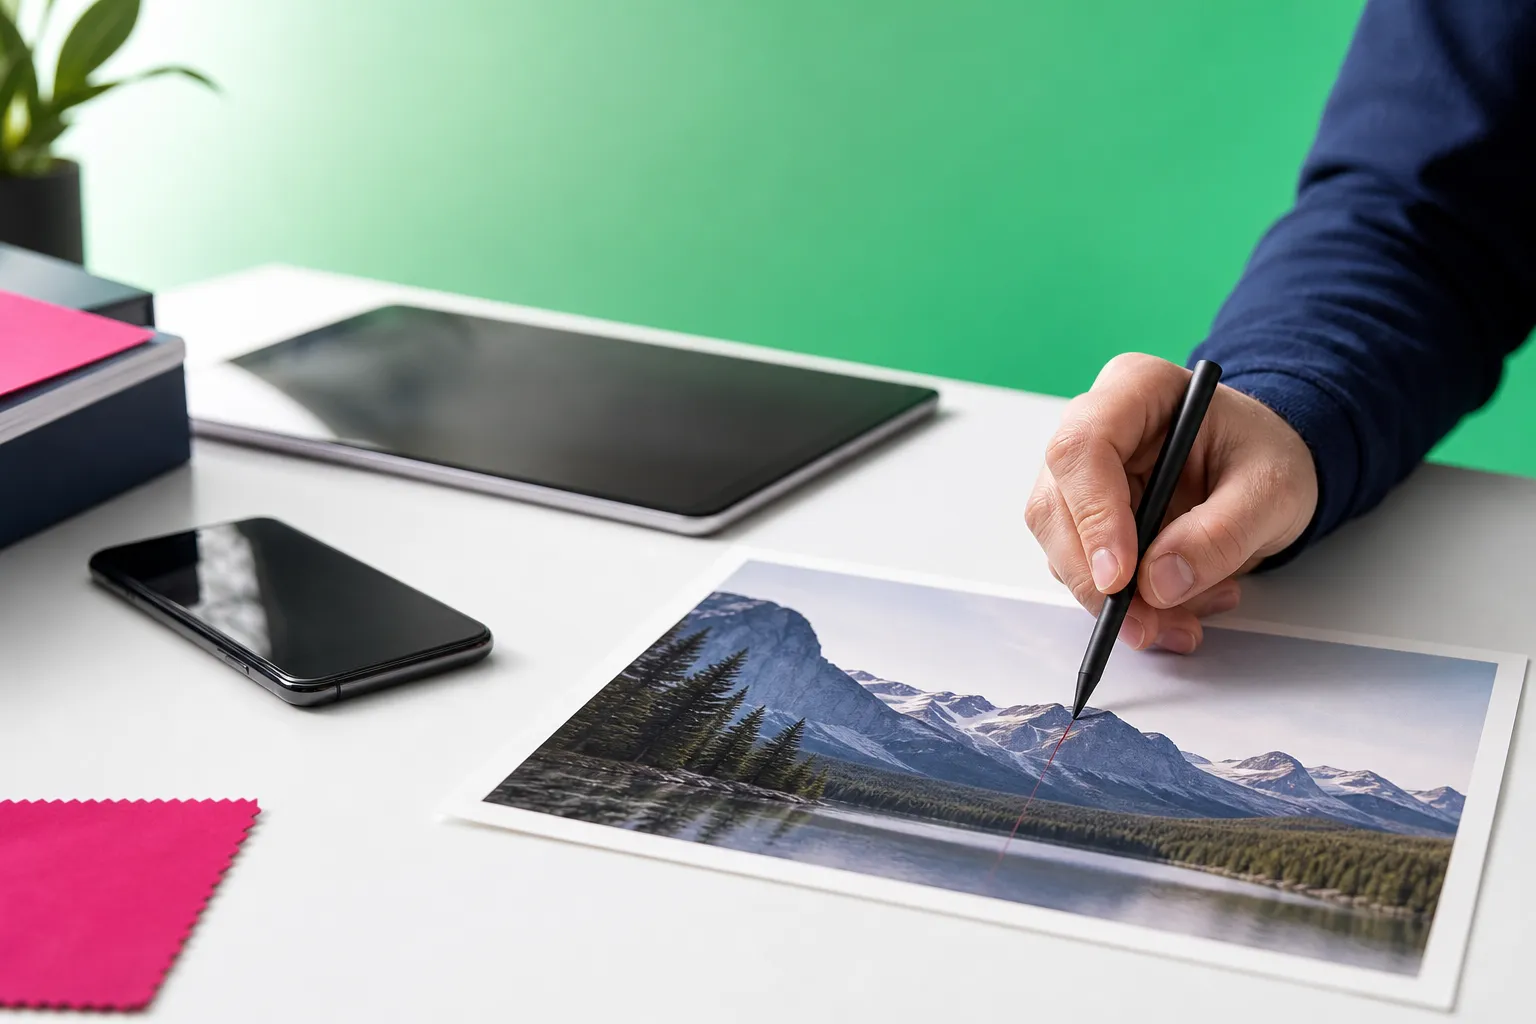
If you need to remove red line from photo files on your phone or tablet, the fix is often simpler than it looks. A thin red streak, cable, markup line, or narrow light trail can usually be cleaned up directly on iPhone, iPad, or Android with a retouching app built for object removal.
TouchRetouch, developed by ADVA Soft GmbH in Berlin, Germany, is designed for this kind of cleanup. Its dedicated line and object-removal tools help erase narrow distractions while rebuilding the area from nearby image content, which is especially useful when the line crosses sky, walls, pavement, or water.
This guide covers the common types of red lines people see in photos, how to clean each one up, and how to tell when the issue is not really an editable object at all. You will also see when to use Line Removal, when to switch to Remove Objects or Clone Stamp, and when a repeated streak points to a camera problem instead of something a photo retouching app can solve.
What counts as a red line in a photo
Thin distractions that can usually be erased
A “red line” in a photo can be any narrow red mark that pulls attention away from the subject. That can include a thin cable at sunset, a reflected red strip in a window, a narrow light trail, or a colored line running across a road, wall, or sky.
The easiest cases are lines that sit clearly on top of the scene and do not cover a large area. For example, a red wire crossing blue sky or a thin streak over a painted wall is usually much easier to clean than a broad flare covering fine detail in hair, leaves, or brick.
When the line is really a wire, laser-like streak, or markup
Sometimes the “line” is not a defect at all. It may be a real object in the frame, such as a power line, cable, or string, or it may be an added overlay like a red annotation drawn on a screenshot. In both cases, the cleanup process is similar because the editor treats the distraction as something to remove and replace with surrounding texture.
TouchRetouch works best when the line is part of the visible photo content and the hidden area can be reconstructed from nearby pixels. That is why thin straight or slightly curved objects usually respond well, especially on simple backgrounds with repeating color and texture.
When the issue may be a camera or screen artifact instead
On the other hand, not every red streak is a removable object. If the same line appears in many photos taken with the same device, even in different scenes, the issue may come from the camera sensor or another hardware-related capture artifact rather than from something in the scene itself.
A display problem can also mislead you. If the red line appears only while viewing the image on one screen but disappears on another device, the photo itself may be fine. In those situations, editing can only do so much, and the best fix is not always photo cleanup.
That distinction matters because a retouching app is designed to rebuild image areas visually, not repair a damaged camera or screen. If the streak is thin and local, editing often helps. If it is repeated, blown out, or tied to hardware, results may be limited.
Before you start: choose the right cleanup method
Use Line Removal for wires and other narrow objects
The Line Removal tool in TouchRetouch is built for wires, power lines, cables, and similar narrow distractions. Instead of brushing over the entire length manually, you mark part of the line and the app detects the rest automatically.
This is especially useful when a red line runs across open areas like sky, water, roads, or plain walls. In those scenes, the app has a clear visual reference for how to fill the removed area, so the result usually blends more naturally with the background.
Use Remove Objects or Clone Stamp for irregular streaks
Not every red mark behaves like a clean wire. If the streak is jagged, uneven, broken into short sections, or shaped more like a scribble than a line, switch to Remove Objects. That tool lets you select the distraction with the Brush or Lasso and remove it as an unwanted object.
Clone Stamp is best saved for small refinements. If automatic cleanup removes most of the streak but leaves a faint trace where it crossed a roof edge, tree branch, or patterned wall, Clone Stamp lets you copy nearby texture into that tiny leftover area with more control.
Pick the cleanest version of the image before editing
Start with the highest-quality original you have. Results depend on resolution and scene complexity, so a full-resolution image usually gives the app more useful detail to work with than a compressed screenshot or a heavily shared copy.
If you have several versions of the same shot, choose the one with the least glare, blur, or compression. A thin red line over a crisp sky is much easier to remove than the same line in a noisy or low-detail image.
It also helps to know what happens after editing. TouchRetouch preserves original photo quality and EXIF data on export, so you can clean up the image without stripping out that metadata or reducing the saved quality.
How to remove a red line with TouchRetouch
Open the image and zoom in on the distraction
To remove the line in TouchRetouch, begin by opening the app on your iPhone, iPad, or Android device and importing the image you want to fix. Then zoom in until the line is large enough to see clearly, especially if it is only a few pixels wide.
Zooming matters because thin lines often look simpler from a distance than they really are. A streak that seems straight when zoomed out may actually bend slightly, change thickness, or split into two segments near the edge of a tree or roofline.
If the mark is clearly linear, choose Line Removal. If it looks more like a scribble, irregular reflection, or drawn annotation with uneven edges, keep in mind that Remove Objects may be the better tool after your first attempt.
Mark one section and let the app find the full line
With Line Removal selected, mark a section of the red line rather than tracing the entire thing from end to end. The app is designed to detect the full linear object automatically, which makes cleanup much easier when the line stretches across a large part of the frame.
This works especially well for wires over sky, a thin red cable over pavement, or a narrow streak across a painted wall. In those scenes, the surrounding texture is relatively simple, so the filled area usually blends in with minimal extra work.
After the line is removed, inspect the result at the same zoom level before moving on. Look closely where the streak crossed edges, shadows, or repeating texture, because those are the spots most likely to need a second pass.
TouchRetouch is free to download on iOS and Android.
Premium AI features require a paid subscription. Check the App Store or Google Play for current pricing, which varies by region.
Use control points for curved or broken segments
Some lines are not perfectly straight. A sagging cable, a curved red reflection, or a narrow streak that changes direction may need manual retouch mode with control points so you can guide the path more precisely.
In that case, work section by section instead of trying to force one long removal across the entire image. Shorter passes usually produce cleaner results where the line bends near tree branches, poles, window frames, or textured surfaces.
This is also the best approach when the line has interruptions. For example, if the streak disappears behind an object and reappears on the other side, treat each visible segment separately so the app only analyzes what is actually present.
Check edges and repeat on any remaining fragments
Once the main line is gone, zoom in on intersections and high-detail areas. A red streak crossing leaves, roof shingles, brick, text, or fence patterns can leave tiny fragments because the background is visually busy and less predictable.
If you see leftover pieces, repeat the removal on those small sections rather than redoing the entire line. This targeted approach avoids disturbing parts of the image that already look natural.
If too much area is affected during cleanup, use Restore as a precision aid to bring back the parts you want to keep. Then re-mark only the narrow section that still needs work. That is often the easiest way to preserve sharp edges around branches, signs, or architectural lines.
When the line sits on a simple background, the expected result is a clean fill based on nearby color and texture. When the background is detailed, the result still improves with careful section-by-section retouching, but you may need a final touch with Clone Stamp to blend a small patch more naturally.
If your main goal is broader object cleanup beyond a single line, TouchRetouch also includes tools for general object removal. For more examples, see our object remover app guide.
Best techniques for power lines, markup, and light streaks
Power lines across sky or landscape
If you want to remove power lines from a photo, Line Removal is usually the most direct option. A continuous wire running across open sky or a distant landscape is exactly the kind of narrow object this tool is designed to detect and erase.
For example, a red-tinted utility line crossing a sunset sky can often be removed by marking only one section. If the line runs behind tree branches or poles, split the job into shorter parts so the app can rebuild each background area more cleanly.
If your photo specifically involves overhead cables, this detailed guide on how to remove power lines from a photo on iPhone goes deeper into that workflow.
Red annotation lines on screenshots and shared images
Screenshot markup is often easier to erase than a real object in a camera photo. A drawn red arrow, underline, or freehand stroke usually sits as a clear overlay on top of the image, so the app only needs to rebuild the pixels underneath that narrow mark.
Use Line Removal if the annotation is thin and linear. If the markup loops, zigzags, or thickens at the ends, switch to Remove Objects and brush over it in smaller sections for a cleaner result.
Laser-like streaks and narrow reflections
A laser-like red streak or narrow reflection can often be treated like any other line, but the result depends on how much original detail is hidden beneath it. Thin streaks over pavement, water, or walls are usually more editable than broad saturated flares over faces or detailed subjects.
If the streak is caused by glare, reflections, or a strong light source, some hidden detail may be missing entirely. In those cases, the app can still improve the image visually, but the cleanup may need more careful blending. If glare is part of the problem, this guide to removing glare from a photo on iPhone can help with related situations.
Lines crossing detailed backgrounds like trees or brick
Busy backgrounds need a more deliberate approach. When a red line crosses leaves, fences, brickwork, or patterned surfaces, remove it in short sections instead of one long pass. That gives the app a smaller area to reconstruct each time and reduces the chance of smudged texture.
After the main cleanup, use Clone Stamp only for local touch-ups. For example, if a tiny patch in the brick pattern looks soft or a leaf edge looks interrupted, sample a nearby area and blend just that spot rather than re-editing the whole line.
For reflections on eyewear or similar bright distractions, these tips for removing glasses glare from a photo cover another common cleanup scenario.
Troubleshooting when the line will not disappear cleanly
The app removes part of the line but leaves traces
If a streak only disappears partially, the most common reason is that it blends into a busy background or changes thickness along the way. Zoom in closer and work on shorter sections so the app can analyze each part more accurately.
This is common when the line crosses branches, textured walls, or shadow transitions. A thin segment over sky may vanish cleanly, while the same line over leaves needs two or three smaller passes to finish the job.
The background looks smudged after cleanup
If the repaired area looks soft or smeared, undo the edit and re-mark a smaller segment. Large selections over detailed surfaces give the app more to rebuild at once, which can make repeating patterns like bricks, shingles, or foliage look less natural.
After a cleaner second pass, refine only the remaining problem area with Clone Stamp. This is where a dedicated photo retouching app helps: automatic removal handles the main distraction, while manual touch-up lets you preserve local texture where precision matters.
The red streak is too bright or too wide
Very bright streaks do not always behave like removable objects. If the red mark is broad, blown out, or surrounded by glare, the original detail underneath may be missing, which limits how natural the rebuilt area can look.
In those cases, aim for improvement rather than total invisibility. A narrow reflective line across water may clean up well, while a wide saturated flare over a face or sign may still show some softness after editing. If the issue is tied to glare, reducing the brightest section first can make the remaining cleanup easier.
The line appears in every photo from the same camera
If the same red line shows up in multiple photos from the same device, the issue is likely not a removable object in the scene. It may be a sensor artifact or another hardware-related problem, especially if the line appears in similar positions across different subjects and lighting conditions.
That is an important limit to understand. TouchRetouch is designed for photo retouching and object cleanup, not camera repair, screen repair, or hardware diagnostics. You can still edit an individual image for a better-looking result, but repeated capture defects usually need a device-level fix.
By contrast, a red annotation on a screenshot is usually much easier to remove because it is an overlay added after the image was created. The app can rebuild what is underneath that markup more predictably than it can reconstruct a severe hardware-generated artifact.
Export, save, and keep the image looking natural
Review the cleaned area before saving
Before you save, zoom back out and look at the whole image. A cleanup that looks perfect at high magnification can still stand out when viewed full-screen if the color, texture, or edge flow no longer matches the surrounding area.
Check the spot where the line used to be against nearby details like horizon edges, rooflines, or repeated patterns. If something feels slightly off, a small Restore adjustment or a tiny Clone Stamp touch-up is usually better than repeatedly re-editing the same area.
Preserve image quality after editing
TouchRetouch preserves original photo quality and EXIF data on export, which is useful if you want to keep image metadata intact after cleanup. That matters for travel shots, family photos, and any image you may want to organize later by date, location, or device information.
The app is available for iPhone, iPad, and Android, and it also works on Mac with Apple Silicon compatibility. There is no standalone desktop version, so the experience stays focused on mobile and tablet photo editing.
When to stop editing for the most natural result
Subtle retouching usually looks more believable than repeated heavy correction. Once the distraction no longer draws attention, stop and review the image as a whole instead of chasing tiny imperfections that only appear at extreme zoom.
If your goal is to clean up photos while keeping them natural, a light hand often gives the best final look. Get TouchRetouch on the App Store or Google Play.
Quick takeaway
The simplest path for thin linear distractions
When you need to remove lines from photos, start with the tool that matches the shape of the problem. Use Line Removal for wires and narrow straight or slightly curved lines, use manual control points for bends, and switch to Remove Objects or Clone Stamp for irregular leftovers or local refinements.
That approach works well for power lines, screenshot markup, and many narrow red streaks. If the same line appears in every image from the same camera, treat it as a likely hardware-related artifact rather than a normal scene distraction.
Frequently Asked Questions
Can I erase a red line from a photo on iPhone without using a desktop editor?
Yes. You can do it directly on iPhone with a mobile editor such as TouchRetouch, which includes Line Removal for narrow linear distractions and Remove Objects for less regular marks. This works best when the line is thin and the surrounding background has enough detail to rebuild the area naturally.
How do you remove power lines from a picture on Android?
The most direct method is usually Line Removal. Mark part of the wire, let the app detect the full line, and then inspect the result closely where the cable crosses trees, poles, or roof edges. If any trace remains, clean those small sections separately.
Will Line Removal work on curved wires or only straight lines?
It works on more than perfectly straight lines. For curved wires, sagging cables, or segments that change direction, use the manual retouch option with control points and remove the line in shorter sections for better precision.
Why does a red streak stay visible after I try to remove it?
This usually happens when the streak crosses a busy background, changes thickness, or is too bright and wide. Zoom in, redo the cleanup in smaller sections, and use Clone Stamp for local refinement if the automatic fill leaves a faint trace.
What if the red line appears in every photo I take?
If it appears across many photos from the same device, the cause is likely a camera-related artifact rather than an object in the scene. A retouching app can improve individual images, but repeated capture defects usually need device troubleshooting or repair rather than normal photo editing.
Conclusion
The simplest way to fix a thin red streak is to match the tool to the problem: Line Removal for wires and narrow lines, Remove Objects for irregular marks, and Clone Stamp for small finishing touches. That workflow covers common cases like power lines, screenshot annotations, and slim light trails without leaving your phone or tablet.
To keep the result natural, start with the cleanest original, work in short sections on detailed backgrounds, and stop once the distraction no longer stands out.