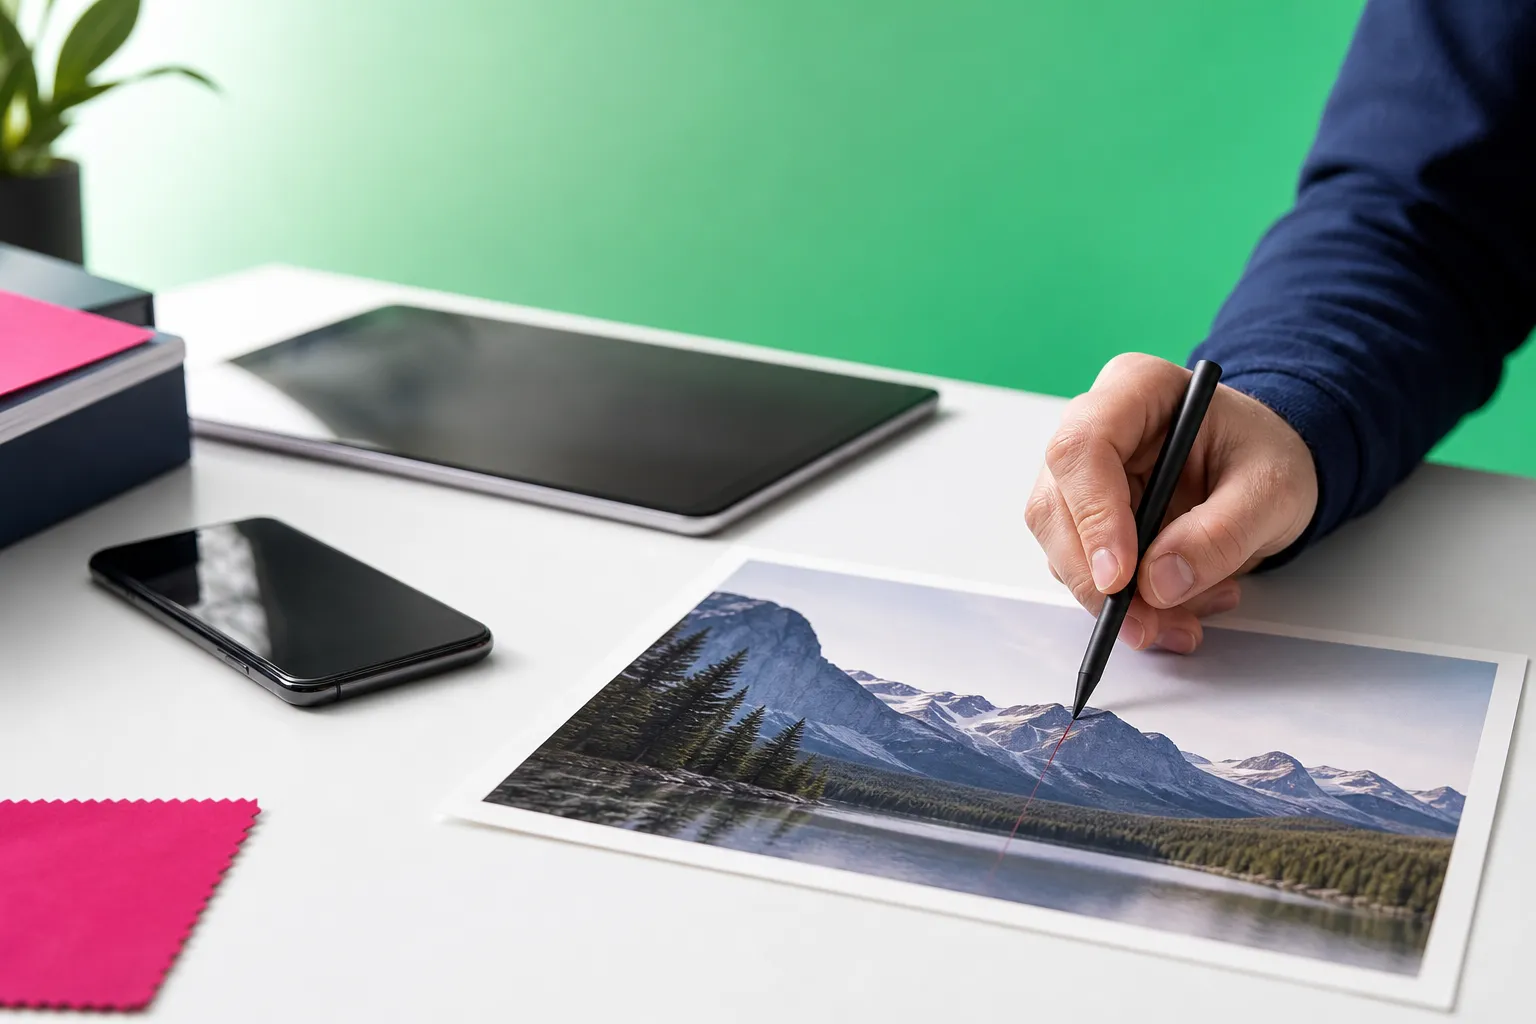
If a bright streak is pulling attention away from your shot, you can often remove light lines from photos right on your phone with a focused cleanup workflow. The key is knowing whether you are looking at a true line-shaped distraction, a reflection, or a broader optical issue that needs a different fix.
On mobile, the easiest results usually come from treating thin streaks like unwanted objects rather than trying to rebuild the whole image by hand. That is where TouchRetouch, developed by ADVA Soft GmbH in Berlin, Germany, is especially useful: it is built for removing distracting elements from photos on iPhone, iPad, and Android.
This guide walks through how to judge the streak first, then choose the right tool inside the app. You will see when to start with Line Removal, when to switch to Remove Objects, and when a quick pass with Clone Stamp gives the cleanest finish.
Before you start: identify what kind of streak you’re seeing
Light line, reflected object, sensor-like artifact, or glare?
Not every bright mark in a photo is the same problem. Some light lines are real objects in the scene, such as a wire catching sunlight, a reflective string, a scratch-like mark on glass, or a bright edge from a sign or railing. Others are optical effects, such as glare or lens flare, which spread light more broadly and do not behave like a clean object.
A quick way to tell the difference is to zoom in and look at the edges. If the streak has a narrow shape with visible boundaries, even if it bends slightly, it often acts like an object that can be selected and removed. If it fades gradually into the surrounding area or blooms across a large highlight, it is usually not a simple line cleanup job.
When a thin streak is removable with object-removal tools
TouchRetouch works best when the unwanted mark behaves like a line-shaped distraction. A bright cable across the sky, a reflective thread near a window, or a thin white scratch-looking line over a wall are all strong candidates. In those cases, you can often remove the line by marking only the streak and letting the app rebuild the background around it.
Results depend on three things: scene complexity, image resolution, and edge clarity. A thin line crossing a plain blue sky is much easier than one crossing eyelashes, tree branches, or patterned fabric. If the mark is narrow and distinct, the app has a clear target and the fill usually blends more naturally.
When the issue is too diffuse or complex for line cleanup alone
Broad haze, washed-out highlights, and large flare blobs usually need a different approach. A line tool is designed for narrow distractions, not for rebuilding a whole patch of overexposed light. If the bright area covers a face, spreads over half the frame, or wipes out texture completely, object removal alone will have limited room to work.
That distinction matters when you want to get rid of light streaks. Some streaks are removable because they behave like objects; others are really glare problems. If your issue looks more like reflected glare than a thin line, this guide still helps with diagnosis, and a more glare-specific workflow is covered in our guide to removing glare from a photo on iPhone. If the reflection is concentrated on eyewear, our guide to removing glare from glasses offers a more targeted approach.
What causes light lines and streaks in photos
Common sources of thin bright lines in everyday shots
Many bright streaks come from ordinary shooting situations. A phone camera pointed through a car window can catch a reflected dashboard edge. Holiday string lights can turn into thin glowing lines. A shiny wire, fishing line, necklace chain, or illuminated edge on a building can also read as a streak instead of a clear object.
Some marks are physical things in the frame, and some are light artifacts created by angle and lens behavior. That difference affects your cleanup strategy. A bright cable over a sunset usually responds well to line-based removal, while a diagonal flare from a streetlamp often has softer edges and needs more selective work.
Why phone photos sometimes show narrow streaks across detail
Phone cameras often exaggerate contrast in high-brightness scenes. A tiny reflective edge can clip into a bright white line, especially around windows, chrome, water, or backlit objects. In practical terms, that means the streak you see may be thinner and harsher than the object looked in real life.
This is also why some light lines appear to cut across detail like hair, leaves, or brick. The camera records the bright edge strongly, but the surrounding texture remains complex. You are not just removing a line; you are asking the app to rebuild the texture underneath it.
How background texture affects cleanup difficulty
Background texture is often the biggest factor in whether cleanup looks seamless. A streak crossing a plain wall, smooth sky, blurred water, or out-of-focus background is usually straightforward. A streak crossing curls of hair, dense foliage, roof shingles, woven fabric, or a brick pattern takes more careful editing.
Before you start, assess the streak itself. Is it straight or curved? Continuous or broken? Faint or strongly overexposed? Does it cross an important edge like a jawline, horizon, window frame, or branch? Those details tell you whether to begin with Line Removal, switch to Remove Objects, or plan on a manual finish with Clone Stamp.
If your issue is actually a wire or cable rather than a light artifact, the workflow is very similar to removing power lines from a photo on iPhone. The same logic applies: simpler backgrounds first, detailed intersections second.
When TouchRetouch is the right tool for this cleanup
Best cases for Line Removal
TouchRetouch is a mobile photo-editing app by ADVA Soft that focuses on removing unwanted distractions from photos on iPhone, iPad, and Android. Its Line Removal tool is designed for wires, power lines, and other linear objects, which makes it a strong fit for thin bright streaks that behave like lines rather than broad glare.
This is the right starting point when the mark is long, narrow, and easy to trace visually. A bright line across a sky, a reflective strand over a wall, or a thin illuminated edge near a building often responds well because the app can detect the full line after you mark part of it.
When Remove Objects works better than line detection
Some streaks are too irregular for automatic line detection. A short scratch-like mark, a broken reflection on glass, or a bright fragment that changes width every few millimeters is usually better handled with Remove Objects. In that tool, you can use Brush or Lasso to target only the unwanted section.
This is also the better choice when the streak sits close to a subject edge. For example, if a bright mark runs beside earrings, text, roof trim, or a person’s profile, selective object removal gives you tighter control than broad line detection.
Why Clone Stamp helps with final touch-ups
Even when automatic removal works well, detailed backgrounds sometimes need a final repair. Clone Stamp is the manual cleanup tool for copying nearby texture into a small problem area. It is especially useful when a removed streak leaves behind a soft patch in grass, repeated texture in brick, or a slight bend along a horizon line.
Used together, these tools give you a practical mobile workflow to remove unwanted objects from photos without rebuilding the whole image from scratch. Start with the most specialized tool first, then refine only where needed.
TouchRetouch is free to download; premium AI features require a paid subscription. Check the App Store or Google Play for current pricing, which varies by region. The app is available on iPhone, iPad, and Android, with Mac access through Apple Silicon compatibility rather than a separate desktop version.
If you want a broader overview of what the app can do beyond streak cleanup, see our object remover app guide.
How to remove light lines with Line Removal
Step 1: Open the image and zoom into the problem area
-
Open your image in TouchRetouch and choose Line Removal. Start by zooming in until you can clearly see where the streak begins, where it ends, and whether it stays consistent in width.
-
Look at the background around it before making any edits. A line over open sky can usually be handled in one pass, while a line crossing a roof edge, tree branch, or facial feature is better removed in sections.
This first inspection helps you avoid over-editing. If the streak changes brightness halfway through, split the job into smaller parts rather than treating it as one long mark.
Step 2: Mark a straight streak so the app can detect the full line
-
For a straight or mostly straight streak, mark a short section of the line instead of tracing every millimeter. The app is designed to recognize the full linear object automatically once it has a clear sample.
-
Apply the removal and review the result immediately. On simple surfaces such as a pale wall, smooth water, or sky, the line often disappears cleanly after one pass.
This is the most direct method when the distraction behaves like a wire or narrow highlight. It also reduces the chance of selecting too much surrounding detail.
Step 3: Use manual control points for curved segments
-
If the streak bends, arcs, or follows a slight curve, switch to the manual retouch mode within Line Removal. Use control points to guide the app along the actual path of the mark.
-
Keep the path tight to the streak. If the line curves around an object, place shorter segments rather than forcing one long sweep through a complicated area.
This works well for reflective strings, curved illuminated edges, or bent streaks near architecture. The more accurately the control points follow the line, the more natural the rebuilt background tends to look.
Step 4: Review edges and repeat on leftover fragments
-
After each pass, inspect nearby edges carefully. Check rooflines, branches, horizon lines, facial contours, and text for any warping or blur.
-
If small fragments remain, remove them one by one instead of repeating a large pass over the same area. This keeps the surrounding texture more stable.
On detailed backgrounds, a few artifacts may remain after the main streak is gone. That is normal. A bright line crossing foliage, brick, or hair often needs a second tool for cleanup, especially where the streak intersects fine texture.
Two practical examples help here. If a thin white line runs across a blue sky above a roof, Line Removal can usually handle the sky section first, then a shorter pass over the roof edge. If a reflective streak crosses a person’s shoulder and nearby hair, remove the shoulder section separately and leave the hairline area for more precise retouching.
When cleaning up light streaks, the biggest improvement usually comes from this one habit: work in sections that match the background. Sky with sky. Wall with wall. Hair with hair. That gives the fill more local information to blend from.
If the line is actually a utility wire, cable, or similar distraction, the same step-by-step logic is covered in more detail in our power line removal guide.
Switch to Remove Objects when the streak is uneven or broken
Use Brush for thin marks with irregular edges
Line Removal is not always the best fit. If the streak is short, fragmented, scratch-like, or uneven in width, open Remove Objects instead. Use the Brush to paint directly over the bright mark while keeping the selection as narrow as possible.
This approach works well for broken reflections on glass, tiny bright scratches, or streaks that flare at one end and fade at the other. Adjustable brush settings help you match the width of the mark, which gives you better precision on small details.
Use Lasso when the line sits close to important detail
If the streak runs close to a subject edge, switch to Lasso. Lasso is useful when a bright line sits beside jewelry, text, building trim, or a person’s face and you want to isolate only the unwanted segment without brushing over nearby detail.
For example, if a reflective line appears beside a window frame, draw around just that section and remove it before moving to the next one. This segmented approach gives the app cleaner boundaries and usually produces a more believable fill on busy backgrounds.
Use Restore if the selection grabs too much
Precision matters when you use an object removal app on narrow marks. If your Brush selection spills onto the subject or background texture, use Restore before applying the removal. Restore lets you bring back areas that were selected by mistake, which is especially helpful around eyelashes, lettering, or thin architectural lines.
Remove one segment at a time rather than selecting the entire problem area at once. A broken streak over patterned clothing, for instance, is easier to clean in three short passes than in one large selection that crosses folds, seams, and shadows.
If you want more general cleanup strategies for distractions beyond streaks, our photo cleaner guide is a useful next read.
Refine tricky areas with Clone Stamp
Match texture before you copy
Clone Stamp is the tool to use when automatic cleanup leaves behind a soft smudge, repeated patch, or slight edge distortion. Before painting, sample from a nearby clean area with similar brightness and texture. If the leftover artifact sits on clouds, sample from nearby clouds; if it sits on brick, sample from the same row or pattern.
Repair repeating patterns without making them obvious
Short strokes work better than long swipes. Resample often when working on grass, leaves, skin, fabric, gravel, or water so the copied texture does not repeat in a visible way. This is where Clone Stamp is most helpful: small, local corrections instead of broad replacements.
A practical example is a bright streak removed from a brick wall that leaves a blurry vertical patch. Sample from adjacent mortar and brick edges, then paint in short touches that follow the wall’s pattern. On a cloudy sky, use gentle strokes along the cloud direction so the repaired area keeps the same flow.
Clean up edges around hair, buildings, and horizon lines
Edge areas need extra care. If a streak sat next to hair, a roofline, or a horizon, follow the direction of that edge rather than painting across it. That preserves natural transitions and helps the repair blend into the rest of the image.
This final pass is often what makes a cleanup feel complete after you remove a light line on a detailed background. It is not always necessary, but it is the best option when the automatic fill gets close and only needs a subtle finish.
Tips for better results on textured backgrounds
Work in small passes instead of one large removal
Textured surfaces need patience. Foliage, brick walls, patterned clothing, hair, gravel, waves, and detailed interiors all contain repeating structure, so one giant removal often creates blur or obvious repetition. Smaller passes let the app rebuild each local area more naturally.
Follow the direction of patterns and edges
Start with the simplest segment first. If a streak crosses both open sky and tree leaves, remove the sky section before touching the leaves. Then follow the direction of the texture when refining: vertical lines on buildings, horizontal layers on water, curved strands in hair.
Check the image at both zoomed-in and full-screen views
Alternate between close-up editing and full-image review. Up close, you can spot leftover fragments. Full-screen, you can catch repeating patterns, soft patches, or a repaired area that looks too smooth compared with the rest of the photo.
For long-term organization, there is another practical benefit to doing your photo cleanup in TouchRetouch: the app preserves original photo quality and EXIF data on export. That is useful when you want cleaned-up images to stay properly sorted in your library.
Practical takeaway and next step
A simple tool order to remember
Use a simple order when you clean up bright streaks on your phone. First, identify the mark: true line, irregular reflection, or broad glare. Start with Line Removal for long, narrow distractions. Switch to Remove Objects for broken or uneven marks. Finish with Clone Stamp if textured areas need a manual repair.
What kind of result to expect from phone editing
The best results come from line-like distractions with clear edges, especially over simple backgrounds. Broad flare, washed-out highlights, and diffuse glare are different problems and do not respond as well to line cleanup alone. For those, a glare-specific workflow is often more useful than standard object removal.
TouchRetouch is available on iPhone, iPad, and Android, with Mac access through Apple Silicon compatibility. If you want to clean up your photos on mobile without a complicated editor, get TouchRetouch on iOS or Android.
Frequently Asked Questions
Can TouchRetouch remove every kind of light streak in a photo?
No. TouchRetouch is best for narrow, line-like distractions or small reflective marks that can be selected as objects. Broad glare, large flare blobs, and washed-out highlights are harder to rebuild and usually need a different editing approach.
What tool should I use for a curved bright line on my phone photo?
Start with Line Removal in manual mode. The control points help you follow a curved or slightly bent streak more accurately than a straight automatic pass. If the line is broken or irregular, Remove Objects may be the better choice.
How do I fix leftover smudges after removing a thin streak?
Use Clone Stamp for the final repair. Sample from a nearby clean area with similar texture and brightness, then paint in short strokes over the leftover patch. Resampling often helps avoid visible repetition.
Is Line Removal better than Brush for narrow marks?
Yes, when the mark behaves like a true line. Line Removal is designed for wires and other linear distractions, so it is usually the right starting point for long thin streaks. Brush is better for short, uneven, broken, or irregular marks.
Can I use TouchRetouch on iPhone and Android for this kind of cleanup?
Yes. TouchRetouch is available for iPhone, iPad, and Android devices. It is also accessible on Mac through Apple Silicon compatibility, but the app is designed as a mobile photo editor rather than a standalone desktop program.
To remove bright streaks successfully, focus less on the word “light” and more on the shape of the distraction. If it behaves like a line, you can often remove it cleanly by starting with the right tool and working in small, controlled sections.
TouchRetouch keeps that process simple on mobile with dedicated tools for lines, object removal, and manual refinement.