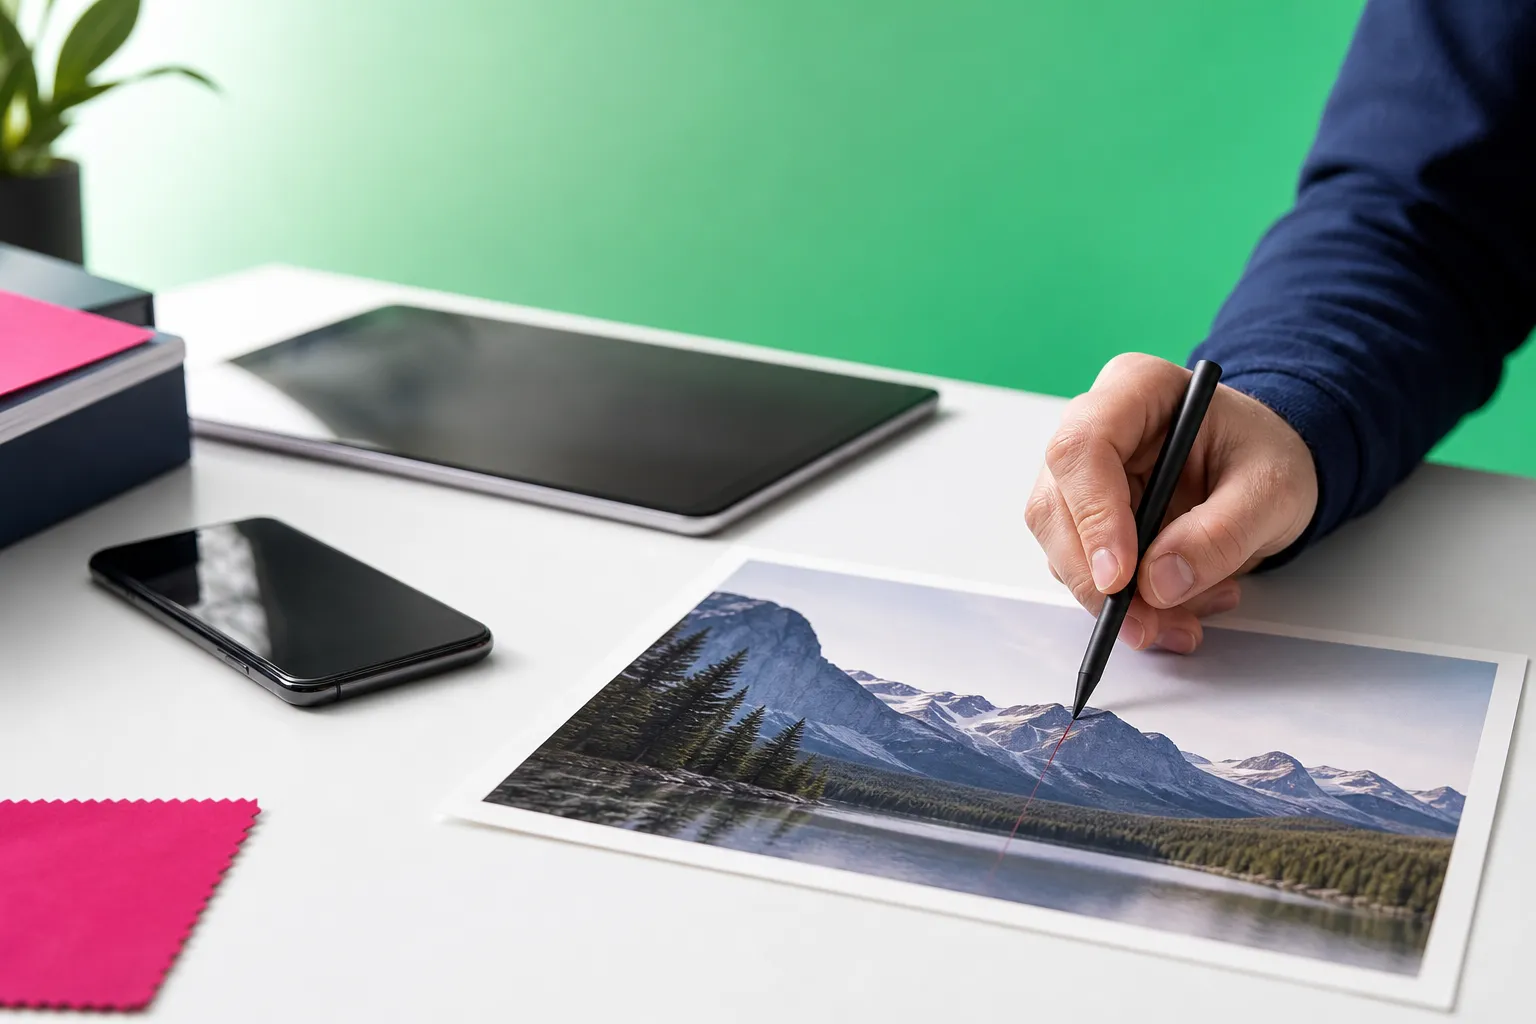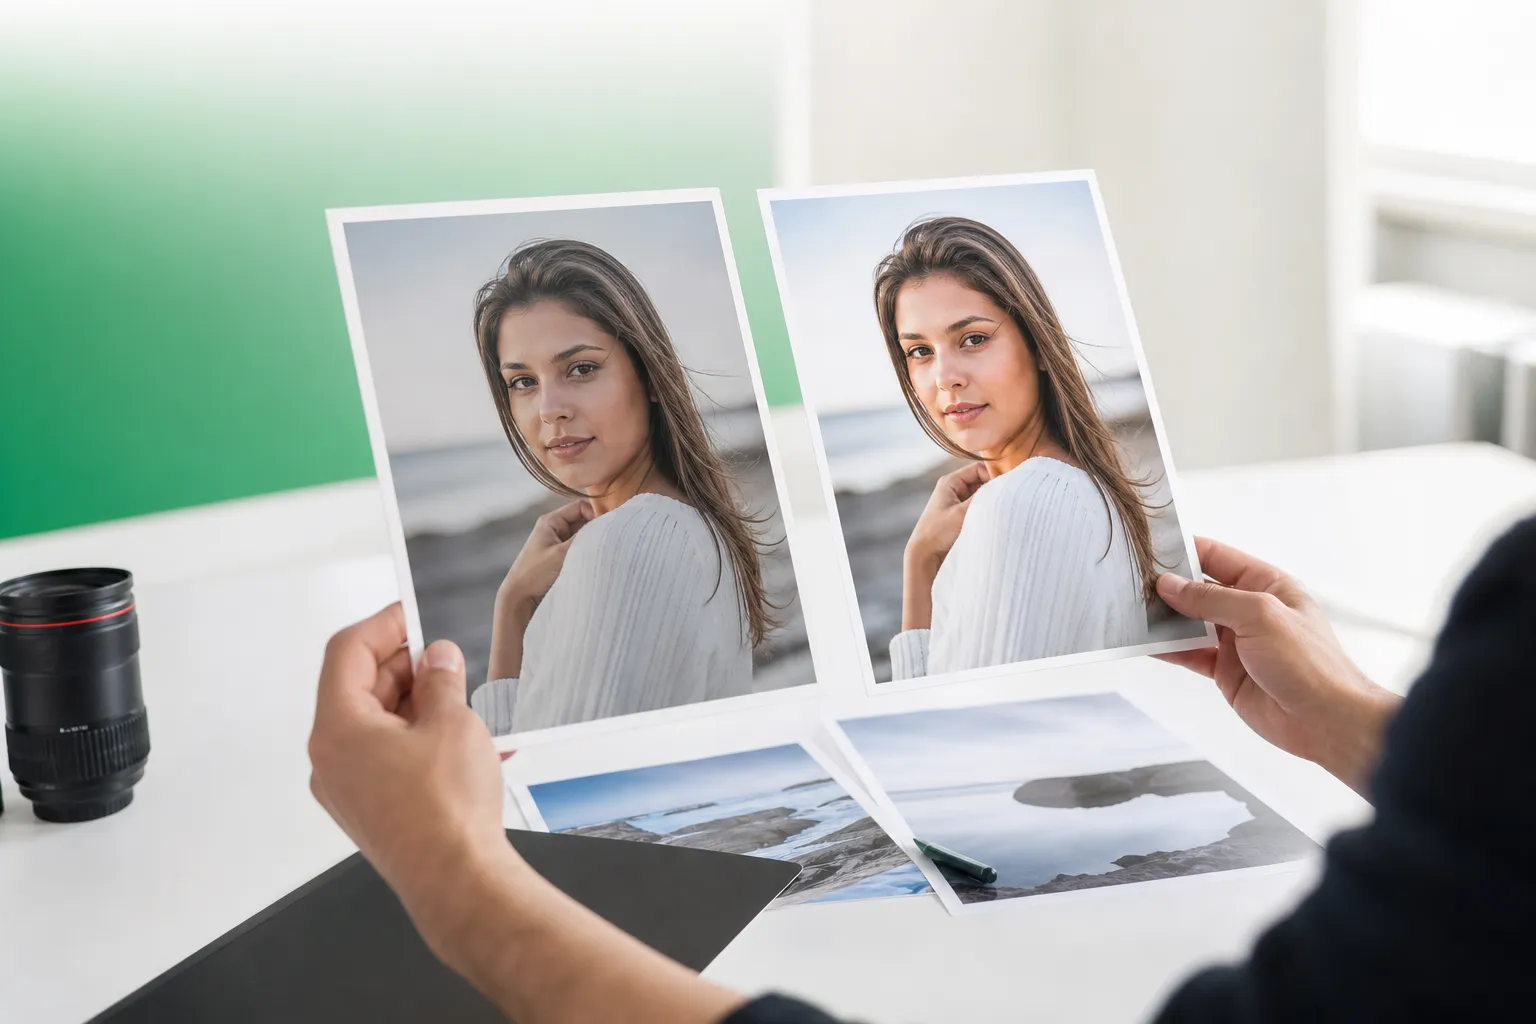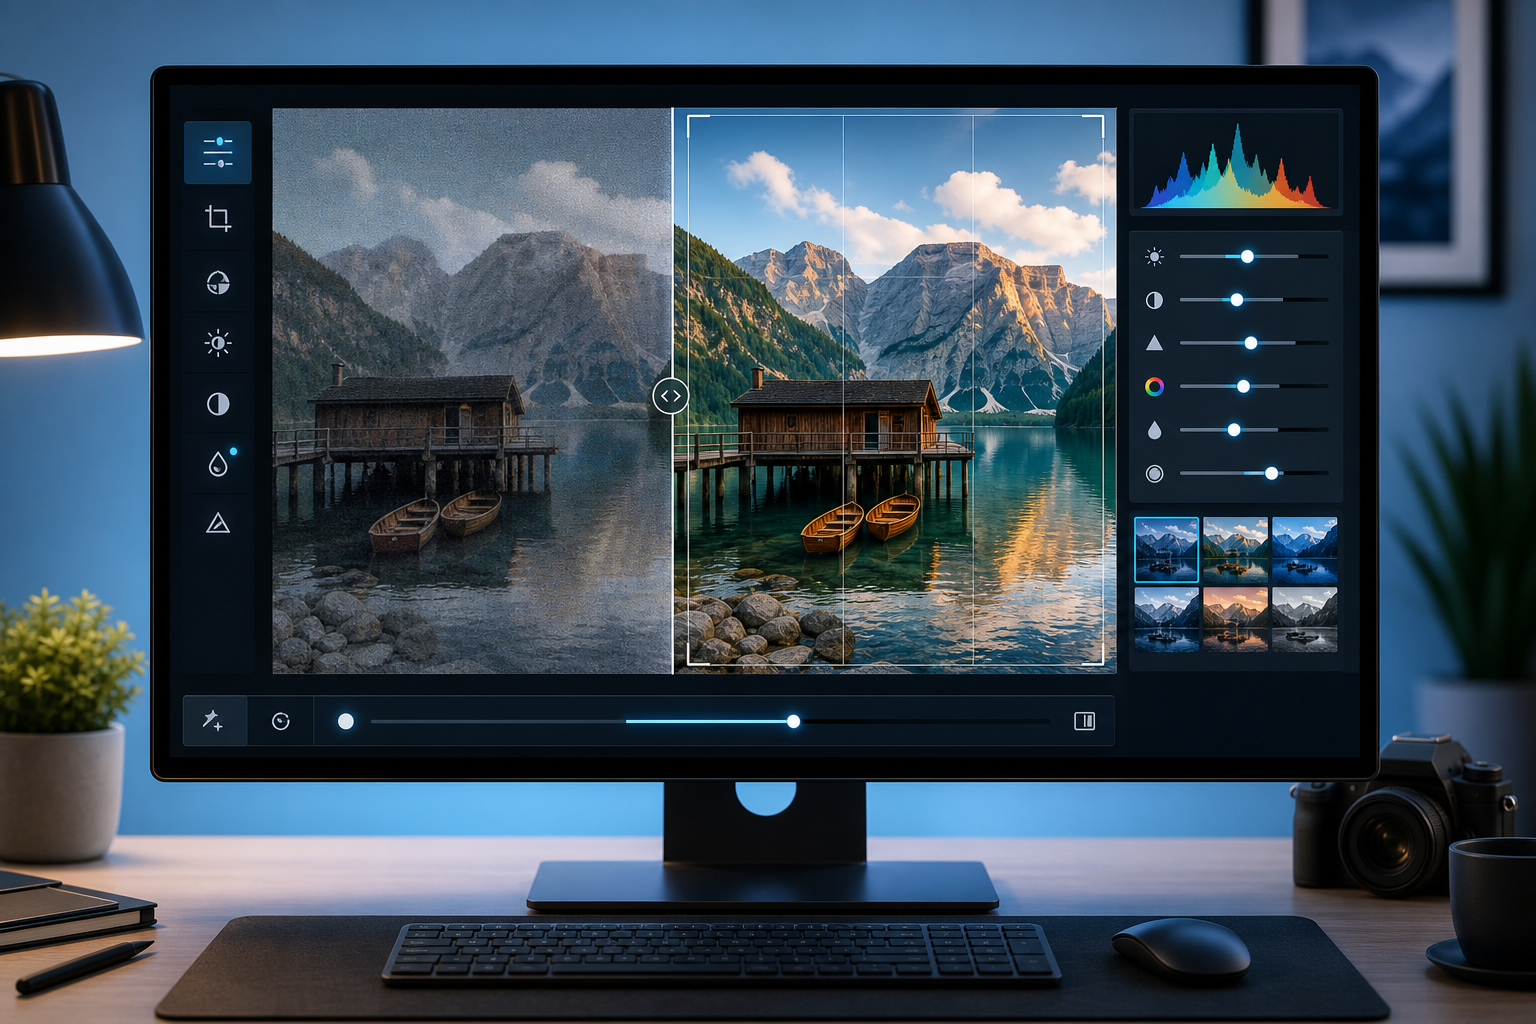
A photo enhancer improve quality workflow is not always about creating more pixels. In many everyday photos, the biggest upgrade comes from better exposure, lighter sharpening, controlled noise reduction, and removing distractions that pull attention away from the subject. A cleaner image often feels sharper, clearer, and more polished even when the file size stays the same.
That matters because many people confuse “quality” with “resolution.” In practice, visual quality also depends on lighting, contrast, color balance, background clutter, and whether random objects like wires, signs, or photobombers make the frame feel messy. If the goal is improving picture quality, cleanup is often more effective than extreme enhancement sliders.
This guide explains what editing can realistically fix, what it cannot recover, and where TouchRetouch fits. TouchRetouch is a mobile photo-editing app by ADVA Soft GmbH, based in Berlin, Germany, focused on object removal and retouching for iOS and Android. It is not a dedicated resolution upscaler, so this article keeps expectations honest while showing how cleanup and subtle corrections can make photos look much better.
What photo enhancement can and cannot fix
Why a photo can look low quality even when the file is large
A large file is not automatically a good-looking photo. An image can have plenty of pixels and still appear dull because it is underexposed, noisy, oversharpened, flat in contrast, or filled with visual clutter. A busy background, dust spots, fence patterns, or a bright sign behind the subject can make a photo feel lower quality even when the resolution is technically high.
That is why improving picture quality usually starts with simple corrections. Brightness, contrast, color cleanup, and distraction removal often create a stronger result than resizing alone. A travel photo with power lines across the sky or a portrait with random objects behind the face can look dramatically better after cleanup, even though the pixel dimensions never change.
The difference between visual clarity and true resolution
Resolution refers to how many pixels are in the file. Sharpness describes how clearly edges appear. Detail is the actual fine information captured by the camera, such as hair strands, fabric texture, or brick patterns. Composition cleanliness is about how organized and distraction-free the frame feels.
These are related, but they are not the same. A photo editor quality enhancer can increase perceived clarity by improving edge contrast, reducing grain, and simplifying the scene. What it cannot do is fully recreate detail that was never captured because the image was severely blurred, heavily compressed, or saved at a tiny size.
For example, a 4000-pixel-wide image shot in poor light may still look soft because of motion blur and noise. Meanwhile, a smaller but well-exposed photo with a clean background can look more “high quality” on social media because the subject reads clearly. That is the difference between visual clarity and true resolution.
When editing helps—and when the original capture sets the limit
Editing helps most when the original image is usable but imperfect. Slight softness, mild noise, flat lighting, uneven color, blemishes, dust, poles, wires, and background clutter are all common problems that respond well to correction. In those cases, how to enhance photo quality is mostly about making the existing image easier to read.
Editing helps less when the source file is extremely small, badly blurred, or full of compression artifacts. If someone needs to enlarge a tiny image for print, poster use, or a large crop, a dedicated upscaling tool may be the better category of software. TouchRetouch is not a dedicated resolution upscaler and should not be treated as one.
The useful angle is simpler: many photos look better not because they gained more pixels, but because the distractions are gone. Remove a fence from the foreground, erase a trash can near the subject, clean up skin gently, or replace a messy background, and the photo often looks more refined immediately.
How to enhance photo quality step by step
Start with exposure before adding sharpness
If you want to learn how to enhance photo quality, start with brightness and exposure first. A dark image hides detail in shadows, while an overly bright image washes out texture in faces, skies, and clothing. Correcting light levels gives the rest of your edits a better foundation.
After brightness, adjust contrast carefully. Flat photos often need a little more separation between light and dark areas so the subject stands out. A portrait taken indoors, for example, may look clearer after modest exposure and contrast correction even before any sharpening is added.
- Correct brightness so the subject is visible and natural.
- Adjust contrast to restore depth without crushing shadows.
- Reduce visible noise, especially in low-light areas.
- Sharpen lightly to improve edge definition.
- Clean up distractions that make the image feel messy.
Reduce noise without making the image look waxy
Noise reduction is useful for night scenes, indoor photos, and older phone images that show grain in darker areas. It can make skies smoother, skin more even, and shadows less gritty. But aggressive denoise settings often smear texture and create that waxy, plastic look people notice right away.
A better approach is restraint. Reduce the most distracting grain, then stop before natural texture disappears. Hair, fabric, wood grain, and skin should still look like real surfaces, not airbrushed patches.
Use contrast carefully to restore depth
Contrast is one of the fastest ways to improve perceived quality, but too much makes photos harsh. Heavy contrast can clip highlights, bury shadow detail, and exaggerate skin texture in portraits. In travel images, it can turn a pleasant sky into a hard-edged, unnatural block of color.
Balanced contrast works better because it restores depth without making the edit obvious. A product photo on a table, for instance, often looks cleaner with moderate contrast and a tidier background. The same principle applies to food, pets, and casual social media shots.
Clean up distractions that make a photo feel lower quality
This is where many quality guides stop too early. Random objects in the frame often do more damage than slight softness. Dust spots, blemishes, signs, poles, wires, fence patterns, photobombers, and cluttered backgrounds all reduce focus on the main subject.
TouchRetouch is especially useful here because it is built for cleanup on mobile. Its tools include Remove Objects for unwanted items, Erase AI for people and distractions in the background, Line Removal for wires and power lines, Mesh Removal for fences, Clone Stamp for refinements, Blur for selective focus, Backgrounds for background removal or replacement, and Natural FaceRetouch for subtle portrait cleanup.
Results depend on scene complexity and source image quality. Uniform skies, walls, roads, and grass are usually easier to clean than heavily textured areas like patterned fabrics or crowded city scenes. Still, when the issue is visual clutter rather than missing pixels, cleanup can be the most effective answer.
If your main problem is unwanted elements in the frame, a practical next step is to remove objects from photos on iPhone and Android using a cleanup-first workflow.
Sharpening, noise reduction, and exposure: the core quality fixes
When sharpening helps soft photos
A photo editor quality enhancer often relies on sharpening, but sharpening is not magic detail recovery. It works by increasing edge contrast so borders between objects look more defined. That can help slightly soft portraits, travel shots, or product photos feel clearer.
Sharpening works best when the image is only a little soft. If a face is blurred by camera shake or a moving subject, pushing sharpness harder usually creates halos and crunchy edges instead of true detail. In those cases, the original capture sets the limit.
How noise reduction improves low-light images
Noise reduction is especially helpful in low-light photos. Night street scenes, restaurant portraits, and indoor family pictures often show grain in shadows and color speckling in darker backgrounds. Reducing that noise can make the image look cleaner and more modern.
Older phone photos benefit too. Many older sensors produced visible grain and muddy shadows, especially indoors. A balanced edit that reduces noise while preserving texture often looks more natural than a heavily sharpened version of the same image.
Brightness and contrast correction for flat or dull shots
Brightness correction helps underexposed photos reveal subject detail. A face hidden by shadow, a product shot that looks dim, or a travel image taken at sunset can all improve when midtones are lifted carefully. Once the subject is visible, contrast can restore shape and separation.
This matters on social media, where photos are viewed quickly and often on small screens. A balanced image with clear tonal separation usually reads as higher quality than a larger file that is muddy or washed out. That is one reason photo quality improvers often focus on tone before anything else.
Common editing mistakes that reduce image quality
The most common mistake is pushing every slider too far. Too much sharpening creates halos around faces and buildings. Too much noise reduction removes pores, fabric texture, and natural detail. Too much contrast makes skin harsh and skies unnatural.
Another mistake is ignoring composition problems. A portrait with perfect sharpness still looks weaker if a bright exit sign, a parked car, or a crowd in the background steals attention. In many cases, realistic editing and selective cleanup produce a stronger result than extreme enhancement.
For portraits, subtle cleanup can matter more than aggressive detail work. If glare is the issue, this guide on how to remove glasses glare from a photo shows another example of quality improvement through targeted retouching rather than brute-force sharpening.
Enhance photo quality and resolution: when pixels matter less than cleanup
Why removing clutter can make a photo look sharper
When people search for enhance photo quality and resolution, they often assume the answer is more pixels. But visual quality is strongly influenced by composition. A clean frame makes the subject easier to see, which the eye often interprets as “sharper” and more professional-looking.
Imagine a travel photo of a historic building. The file may already be large, but wires crossing the sky, a trash can near the entrance, and a photobomber at the edge of the frame make it feel chaotic. Remove those distractions, and the building stands out immediately. The image feels clearer even though the resolution is unchanged.
The same thing happens in portraits. A face against a cluttered room can look less polished than the same face with a simplified background or a little selective blur. Cleanup improves visual hierarchy, and visual hierarchy is a major part of perceived quality.
How TouchRetouch improves presentation without claiming upscaling
TouchRetouch is designed for this kind of quality improvement. Remove Objects helps erase unwanted items selected with the Brush tool or Lasso. Erase AI is built to detect and remove background people and common distractions such as signs, trash cans, stop lights, and shadows while keeping the main subject unchanged.
For common travel and street problems, Line Removal is useful for wires and power lines, while Mesh Removal targets fences and similar foreground patterns. If an automatic result needs refinement, Clone Stamp gives more manual control over texture repair.
TouchRetouch also includes tools that improve presentation in other ways. Blur can soften selected areas for cleaner focus or privacy. Backgrounds supports background removal and replacement, which is useful for portraits, product photos, and simple promotional images. Natural FaceRetouch offers subtle face cleanup while preserving natural features rather than creating an artificial look.
These tools improve perceived quality and presentation, not native resolution. That distinction matters. If the image already has enough pixels for your intended use, cleanup often delivers the more noticeable upgrade.
Best use cases for object removal, blur, and cleaner backgrounds
Travel photos are one of the clearest examples. Removing poles, signs, wires, crowds, or fence patterns can make landmarks and scenery stand out far more than a size increase would. A beach photo with fewer distractions often looks calmer and more premium right away.
Portraits are another strong use case. A subtle background blur, a cleaner backdrop, or gentle Natural FaceRetouch can make the subject look more polished without overediting. For profile pictures, family photos, and casual lifestyle shots, that is often the exact kind of improvement people want.
Property and product images also benefit. A room photo looks more usable when random cords, bins, or wall marks are removed. A product shot feels cleaner when the background is simplified and the subject is separated more clearly. If presentation is the goal, cleanup is often more valuable than chasing extra pixels.
For images that need more polished separation, some users also like to add shadow to an image for cleaner presentation after background cleanup or replacement.
When a dedicated upscaler may still be the better choice
There are still times when pixel count matters. If you need to print a very small image at a larger size, crop heavily, or enlarge an old low-resolution file, a dedicated upscaling tool may be necessary. That kind of software is built specifically for increasing dimensions and preparing files for larger output.
TouchRetouch should be chosen for cleanup-first editing, not as a substitute for a specialist upscaler. It is strongest when the photo already exists at a usable size but needs distractions removed, a background simplified, or a portrait polished. That is a more honest and more useful answer for people trying to improve everyday photos.
One practical advantage is export quality. TouchRetouch preserves original photo quality and EXIF data on export, which matters when users want to edit without degrading the file further or stripping useful metadata.
Try TouchRetouch — remove distractions from your photos in seconds. Get it on iOS and Android.
Best ways to improve quality of photo online free
What free online enhancers usually do well
People searching for improve quality of photo online free usually want a quick fix without installing anything. Browser-based tools are often good at basic auto exposure correction, simple sharpening, light denoise, contrast adjustment, and occasional one-click retouching. For a slightly dark selfie or a flat landscape, that can be enough.
These tools are convenient for testing ideas fast. You upload a photo, apply a preset or slider, and compare before and after. If the image only needs a small brightness lift or a bit more punch, online editing can work well.
Trade-offs of browser-based tools
The trade-offs are real. Many free tools limit file size, add watermarks, reduce export options, or offer weak manual control. Results can also be inconsistent on complex scenes, especially when the problem is not just softness but clutter, overlapping objects, or distracting background elements.
Privacy is another consideration. Uploading personal portraits, family photos, or property images to a browser service is different from editing locally on a mobile device. Users who care about predictable control often prefer an app-based workflow for that reason alone.
How to choose between online editing and a mobile app
If the image needs only simple tonal correction, an online tool may be enough. If the real issue is a photobomber, a fence, a wire, a sign, or a messy background, a specialized mobile editor is usually the better fit. That is where TouchRetouch stands out as a cleanup-focused option rather than a generic one-click enhancer.
It also helps to match the tool to the task. Use browser tools for quick exposure or contrast tests. Use a dedicated app when you need selective removal, background control, or more careful retouching on the actual parts of the photo that are hurting quality.
What to look for if you prefer simple, non-technical tools
Look for a clean interface, clear before-and-after previews, and tools that solve one problem at a time. The best simple editors do not force users into complicated layers or technical jargon. They let you brighten, clean, and refine the image without turning the process into a full desktop-style workflow.
If your goal is how to enhance photo quality free in a practical way, start with the easiest visible fix. Sometimes that is exposure. Sometimes it is removing the one object in the frame that keeps the photo from looking finished.
Photo quality enhancer no ai: options for users who want manual control
Why some people prefer non-AI editing
A search for photo quality enhancer no ai often comes from users who want predictability. Some people prefer manual editing because they like seeing exactly what changed. Others care about privacy, editing control, or simply enjoy making selective decisions themselves.
That preference is reasonable. Traditional quality improvement does not require AI at all. Brightness, contrast, crop choices, sharpening, and careful retouching have improved photos for years without one-tap automation.
Manual adjustments that still improve image quality
Manual editing can still make a major difference. Lifting exposure on a dark portrait, reducing contrast in harsh light, or sharpening a slightly soft product shot are all classic fixes. Cropping out empty space or distracting edges also improves how the image reads.
Cleanup is another area where manual work remains valuable. Removing a small object from a plain wall, repairing a repeated texture, or refining an automatic result often benefits from direct user control. For many images, that selective approach looks more natural than a broad automatic enhancement.
When selective cleanup is better than one-tap enhancement
Selective cleanup is better when only one part of the image is causing the problem. A one-tap enhancer may brighten everything, sharpen everything, and increase contrast everywhere, even though the real issue is just a wire in the sky or clutter near the subject. Fixing the exact distraction is often the smarter edit.
TouchRetouch supports both AI-powered and manual-style workflows. Within Remove Objects, users can select areas with the Brush tool or Lasso for precise cleanup, and Clone Stamp offers manual repair control. Some AI-powered features require an internet connection, but the broader point is user choice: AI and manual tools can complement each other depending on the photo and your editing style.
When cleanup improves image quality more than resolution changes
Travel photos with wires, signs, and photobombers
Travel photos often benefit more from cleanup than from enlargement. A landmark shot with power lines overhead, a stop sign at the edge, and strangers crossing the frame feels less refined even if the file is large. Removing those distractions usually has a bigger visual impact than trying to add pixels.
This is one of the clearest examples of how photo quality improvers should be chosen by problem type. If the scene is already detailed enough, cleanup restores focus to the architecture, landscape, or subject that mattered in the first place.
Portraits with background clutter or minor blemishes
Portraits are similar. Aggressive sharpening often makes skin look rough and unnatural, while subtle cleanup creates a more polished result. A tidier background, selective blur, or gentle Natural FaceRetouch usually improves the image more than pushing detail sliders.
Minor distractions matter here: a bright object behind the head, a random person in the distance, or a small blemish that draws the eye. Removing those elements helps the portrait feel intentional and balanced without changing the person’s natural features.
Property and product photos that need a cleaner presentation
Real estate and product-style images depend heavily on presentation. A room photo with visible cords, bins, or outdoor clutter feels less inviting. A product image with a distracting background or uneven separation feels less clean. In both cases, cleanup improves usability and visual confidence.
Background control can help as well. Removing a busy backdrop or replacing it with a simpler one can make a listing image, marketplace photo, or social post easier to read at a glance. That is a practical form of quality improvement, even though the resolution stays the same.
A simple decision guide: cleanup, correction, or upscaling?
Use correction when the image is dark, flat, or noisy. Use cleanup when the composition is cluttered by objects, people, wires, fences, blemishes, or background distractions. Use a dedicated upscaler only when the main problem is output size and the file is too small for the intended print or crop.
That decision framework keeps editing realistic. It also helps answer how to enhance photo quality without wasting time on the wrong tool category. If your photo already has enough pixels, cleanup and tonal correction are often the fastest path to a better result.
TouchRetouch fits the cleanup-first part of that workflow. It is available for iOS and Android mobile devices, with no standalone desktop version. TouchRetouch is free to download; premium AI features require a paid subscription. Check the App Store or Google Play for current pricing, which varies by region.
Remove unwanted objects from your photos — try TouchRetouch free on iOS and Android.
Practical takeaway: choose the right kind of enhancement
A quick checklist before you edit
Before editing, identify the real issue: is the photo soft, noisy, dark, cluttered, or simply too small? That one decision determines whether you need correction, cleanup, or a separate upscaling tool. It also prevents overediting.
The best tool depends on the actual problem in the photo
If the image is dark or flat, fix exposure and contrast first. If it is cluttered, remove distractions and simplify the background. If it is tiny and needs enlargement, use a dedicated tool built for that purpose rather than expecting a photo enhancer increase resolution workflow to solve everything.
Where TouchRetouch fits in your workflow
TouchRetouch is best for cleanup, object removal, background simplification, selective blur, and natural portrait polishing on mobile. It is available on iOS and Android, not as a standalone desktop app. Download TouchRetouch for free on iOS and Android and start removing unwanted objects today.
Frequently Asked Questions
Can a photo enhancer really improve quality, or does it just make the image look different?
Yes, it can improve perceived quality when it corrects real problems like poor exposure, visible noise, weak contrast, or distracting clutter. It does not create unlimited new detail, but it can make a photo look clearer, cleaner, and more polished. The best results come from matching the edit to the actual issue in the image.
What is the difference between sharpening a photo and increasing its resolution?
Sharpening increases edge contrast so details appear more defined. Increasing resolution changes the pixel dimensions of the file. Sharpening can improve visual clarity on a usable image, while resolution changes are more relevant when you need a larger output size.
How can I enhance photo quality free without overediting the image?
Start with the smallest visible fix first: brightness, contrast, or light noise reduction. Then stop before the image looks artificial. Comparing before and after often helps you catch oversharpening, waxy denoise, or contrast that is too harsh.
Is TouchRetouch a photo upscaler or mainly a cleanup and retouching app?
TouchRetouch is mainly a cleanup and retouching app. It is designed for removing unwanted objects, people, lines, meshes, blemishes, and for improving presentation with tools like Blur, Backgrounds, and Natural FaceRetouch. It is not a dedicated resolution upscaler.
When does removing objects or background clutter improve a photo more than increasing resolution?
Removing clutter helps more when the file already has enough pixels but the subject is competing with distractions. Travel photos with wires, portraits with messy backgrounds, and property images with random objects are common examples. In those cases, cleanup improves focus and presentation more than enlargement alone.
The main takeaway is simple: better-looking photos usually come from the right correction, not the most dramatic one. Exposure, contrast, noise control, and selective cleanup often do more for everyday images than chasing extra pixels. That is the most practical way to approach a photo enhancer improve quality goal.
If your photo is being held back by clutter rather than size, TouchRetouch is a strong mobile option for removing distractions and refining presentation. Clean up your photos with TouchRetouch — download now on iOS or Android and start with the elements that are actually hurting the image.
FAQ
Can a photo enhancer really improve quality without adding new detail?
Yes, a photo enhancer can improve perceived quality by correcting exposure, contrast, color, sharpness, and noise even when it does not create truly new detail.
How can I enhance photo quality and resolution effectively?
The most effective approach is to combine careful resizing with sharpening, noise reduction, and tonal corrections so the image looks cleaner and more detailed.
Is it possible to improve quality of photo online free?
Yes, many online editors offer free tools for improving picture quality through basic adjustments such as brightness, contrast, denoise, and sharpening.
What is the difference between a photo enhancer increase resolution tool and a quality enhancer?
A resolution tool mainly changes image dimensions, while a quality enhancer focuses on visual improvements like clarity, color balance, and reduced artifacts.
Are photo quality enhancer no AI tools still useful?
Yes, non-AI photo quality improvers are still useful because traditional editing tools can deliver natural-looking results with precise manual control.